Shred the Secrets Basement: Espresso, Elevator, Red Button
Shred the Secrets basement guide: the route in through Room 6, the espresso machine, the elevator ride and the red button before Ending 2 — with timestamps.
Last updated: 2026-09-16
Quick answer
The basement is Shred the Secrets' hidden floor: the boarded-up doorway at the bottom of Room 6 (crowbar required) opens into a dark stairwell, and the floor below has no room number — the counter disappears and the corner label just reads BASEMENT. Layout, entrance to far end: a kitchen corner where the espresso machine sits under a framed blueprint poster, a full shredder bank along the wall, filing cabinets plus a back break room with a CRT computer, and an elevator. The machine brews a fresh pot every 2 minutes; drinking it grants Caffeinated, a one-minute shredding-speed burst, and the whole machine can be picked up and carried. The elevator is the only way back up — it opens into the under renovation office above. Past it, the ROOM 8/12 office hides the big red button: pressing it plays the Ending 2 reveal, leaving it alone keeps Ending 2 out of your run — the recording on this page skips it. Getting in: Room 6 guide. Machine mechanics and the "golden coffee machine" mix-up: items page. Elevator badge: Joy Ride. Red-button route: Ending 2. Floor order: rooms. How the finales branch: all endings guide.
How to reach, use and leave the basement
- 1
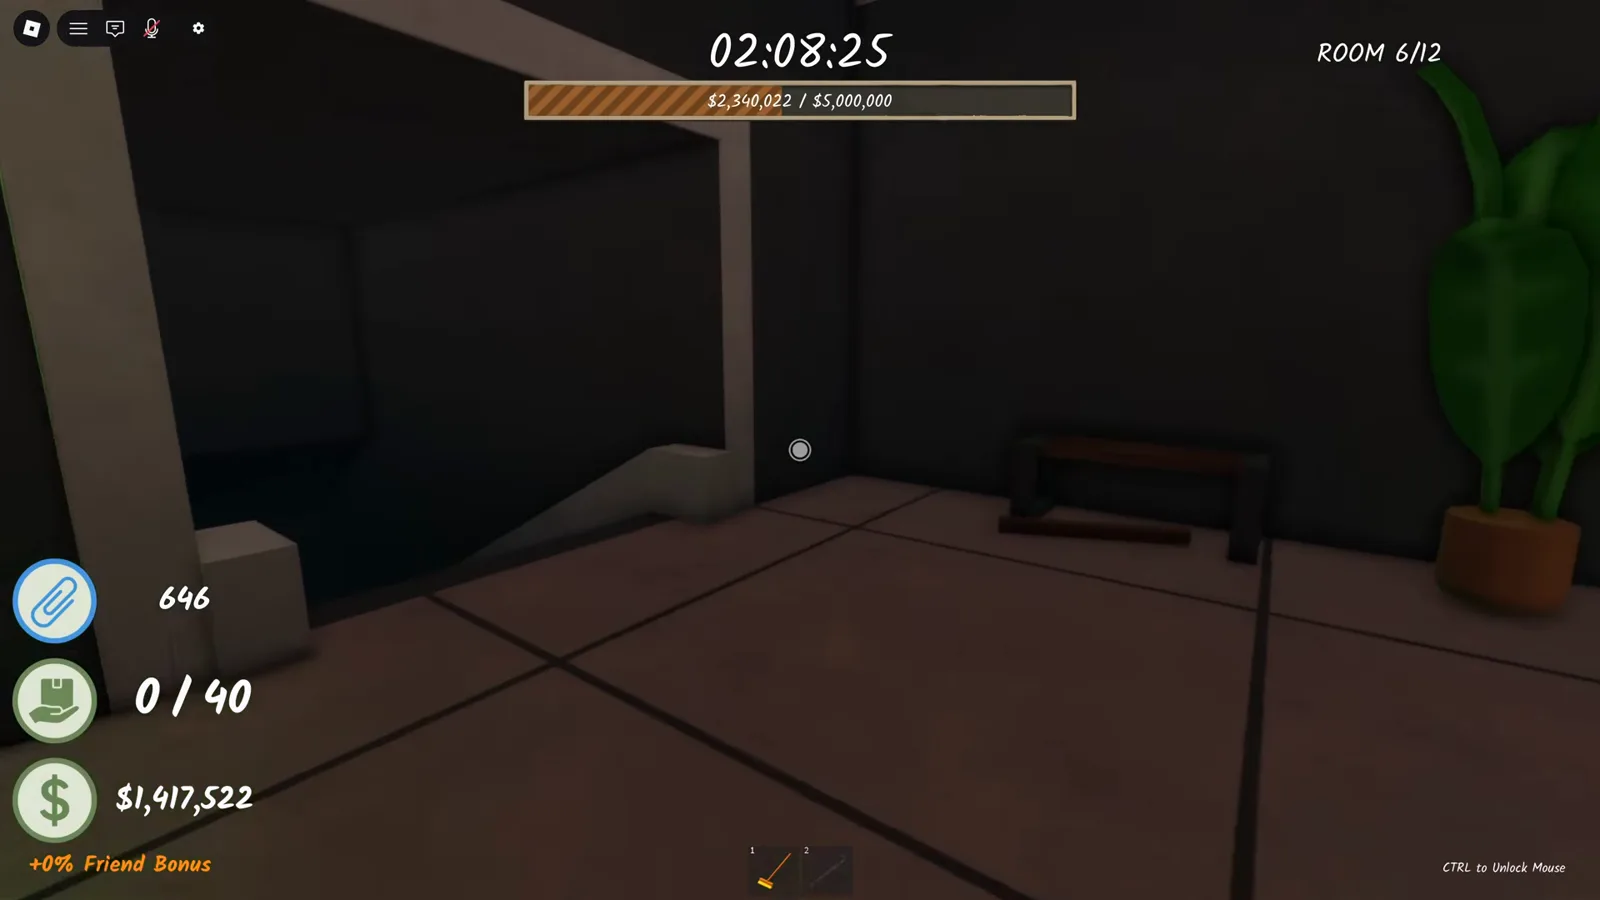
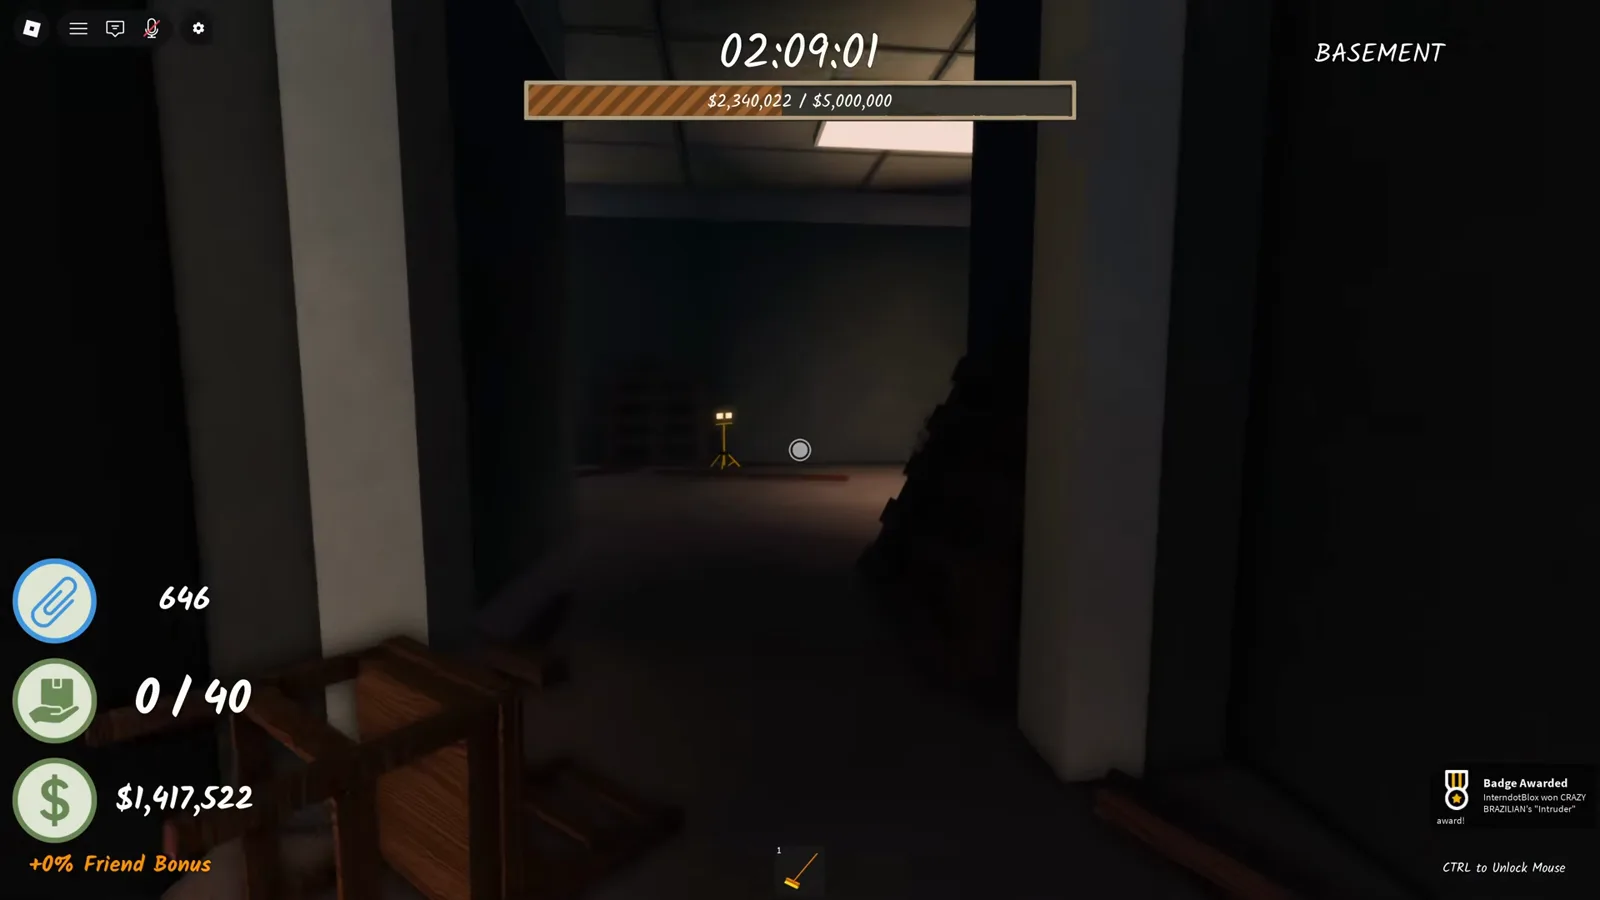
Clear the boarded doorway in Room 6 first. The basement entrance waits at the bottom of the cobweb room behind a full wall of wooden planks. Grab the sparkling crowbar and swing until every plank comes off — each takes one hit, and clearing them all is the Intruder badge too. The full sweep, the cobwebs and the crowbar's current spawn: Room 6 guide.
- 2
Take the dark stairwell down. The room counter disappears and the corner label switches to BASEMENT — this recording's player even types This feels spooky in chat. The entry corridor holds only cobwebs; the real room is one flight lower.
- 3
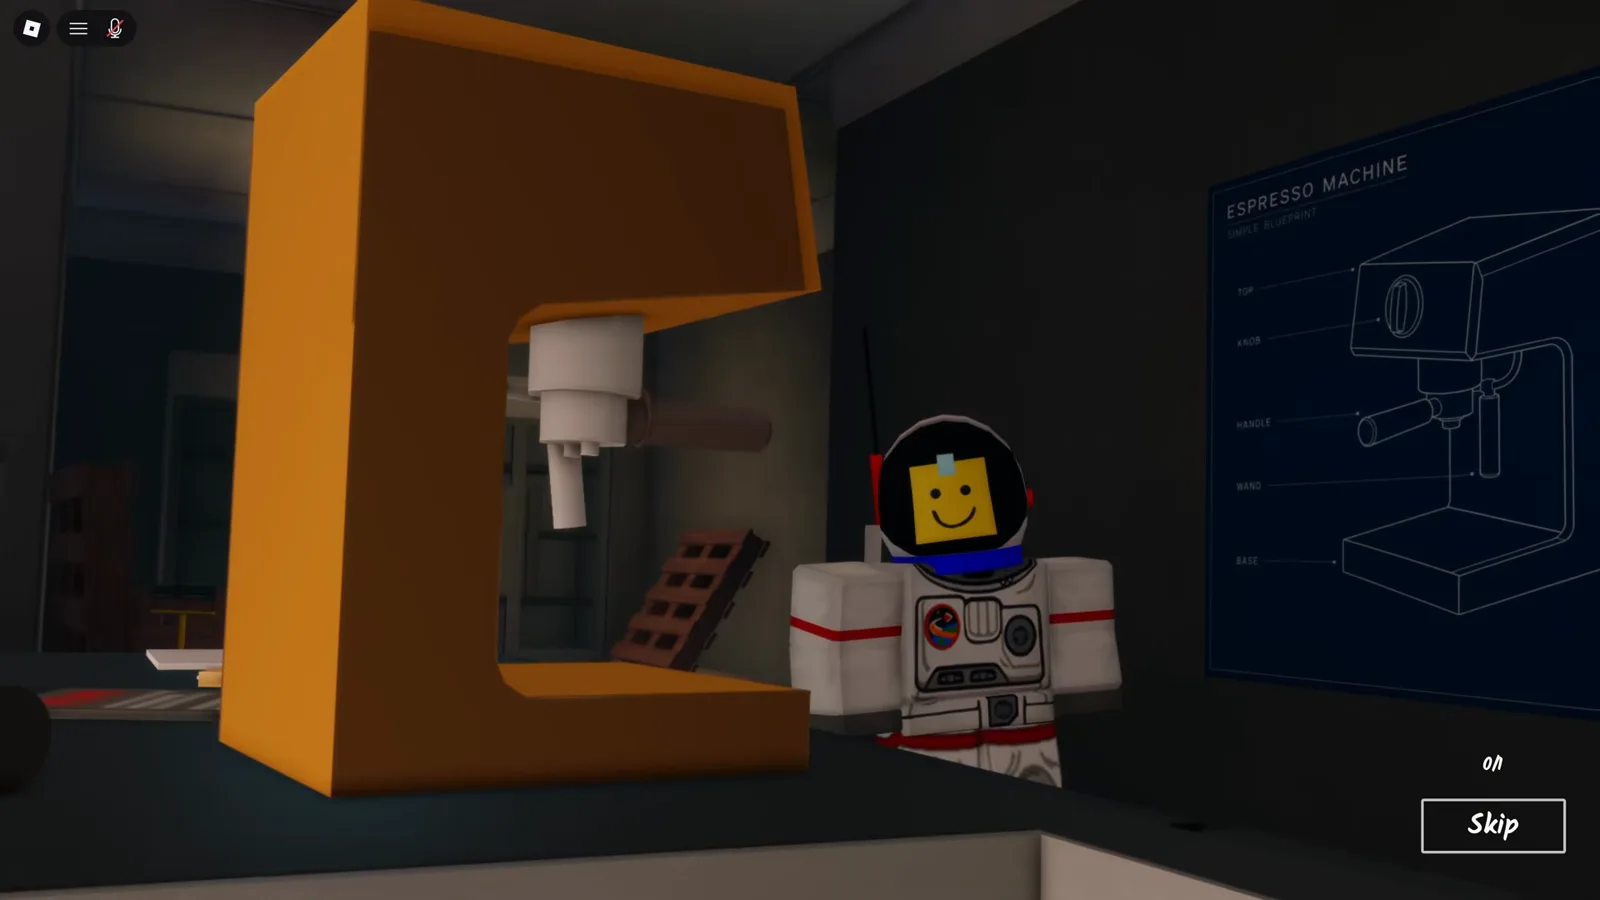
Find the espresso machine in the kitchen corner. It hides under a framed blueprint poster and a sticky note — the recording walks straight past it before the intro cutscene fires. The cutscene is skippable and purely visual; the poster is the landmark to remember.
- 4
Pick the machine up and set it on a marked counter. The game walks you through it: "You grabbed the coffee machine. Find a counter marked for it and set it down," then "Brewing: A fresh pot in two minutes." Keep clearing while the two minutes run — after every pot the machine rebrews on its own.
- 5
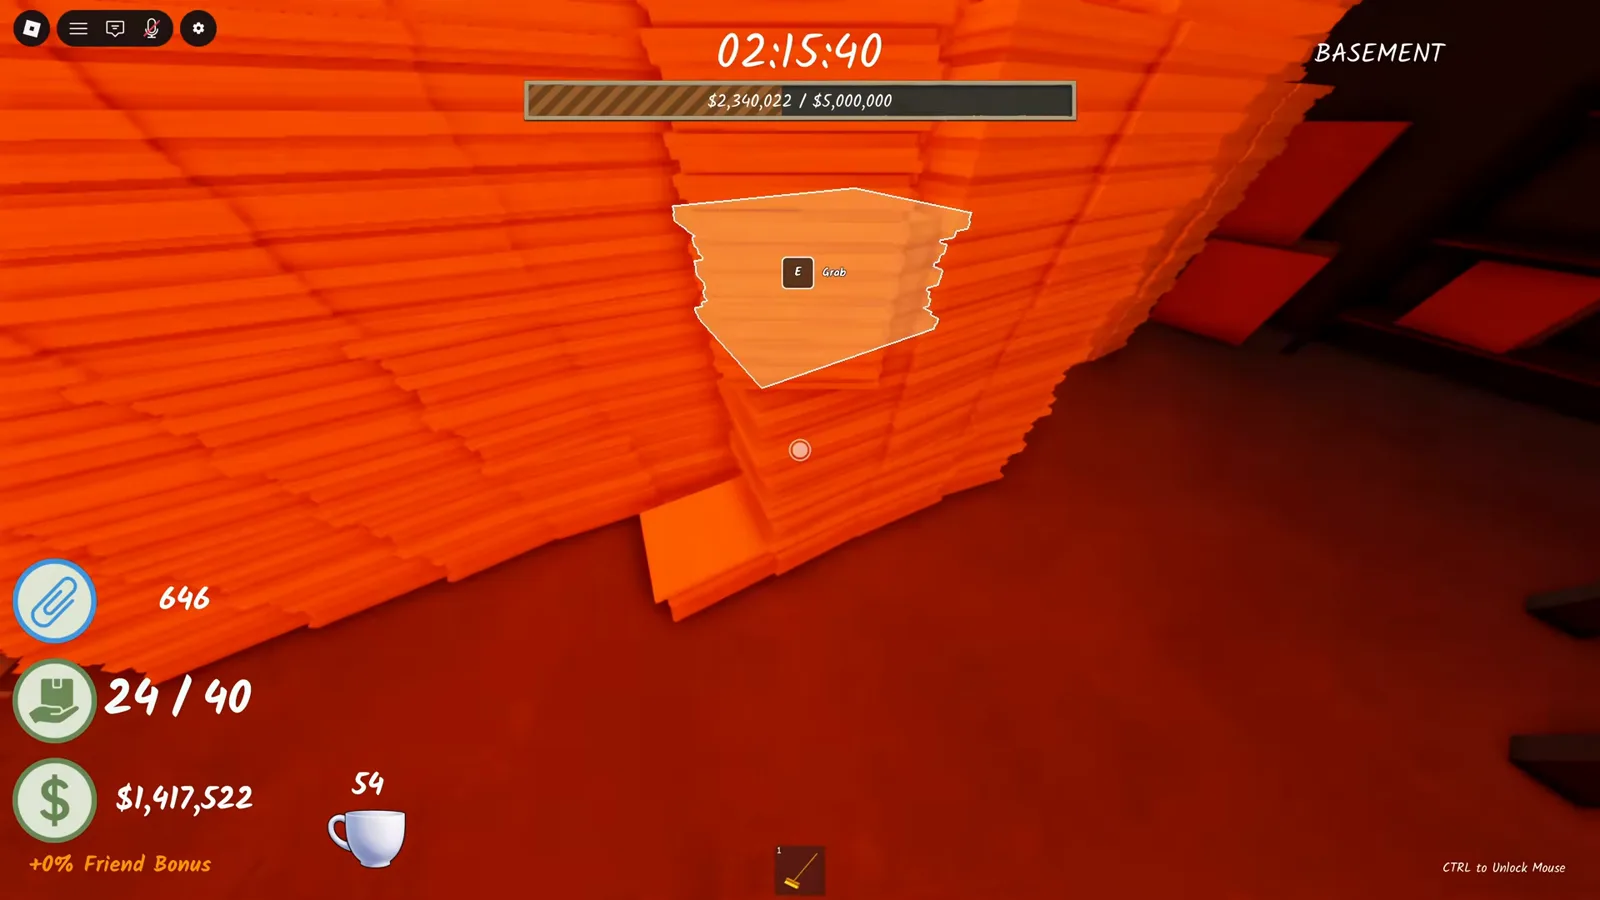
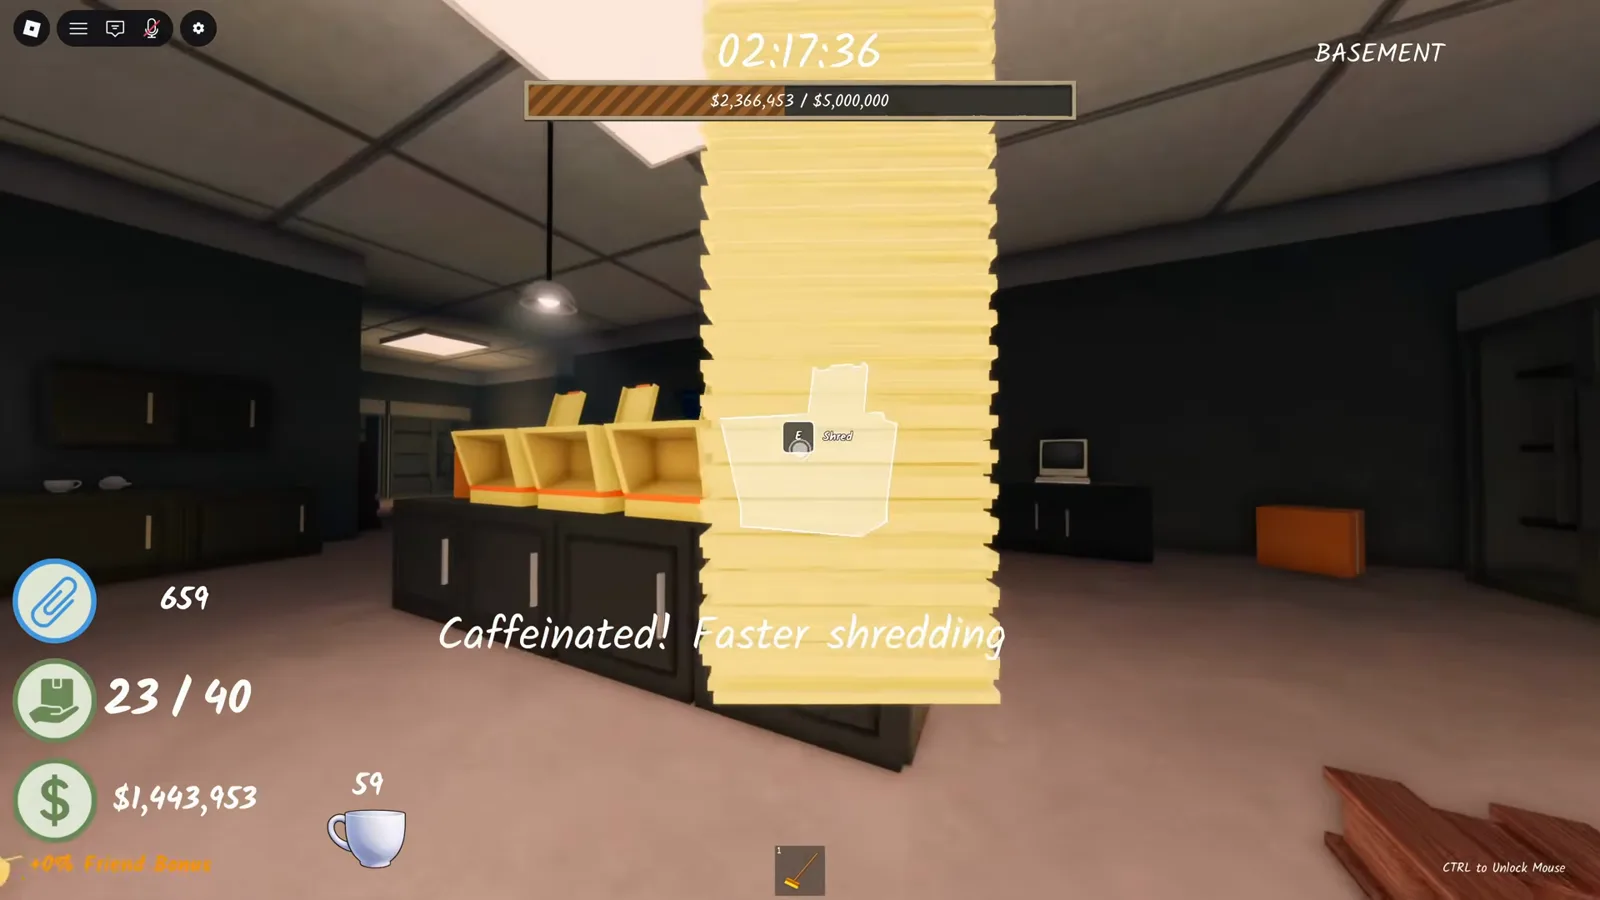
Drink the coffee for Caffeinated. The prompt is explicit — "Drink it for a burst of shredding speed" — 1 minute of faster shredding, tracked by a little cup countdown on the HUD. While the buff runs, the whole view takes on an orange-red tint the recording calls "so weird". The buff is comfort, not a requirement.
- 6
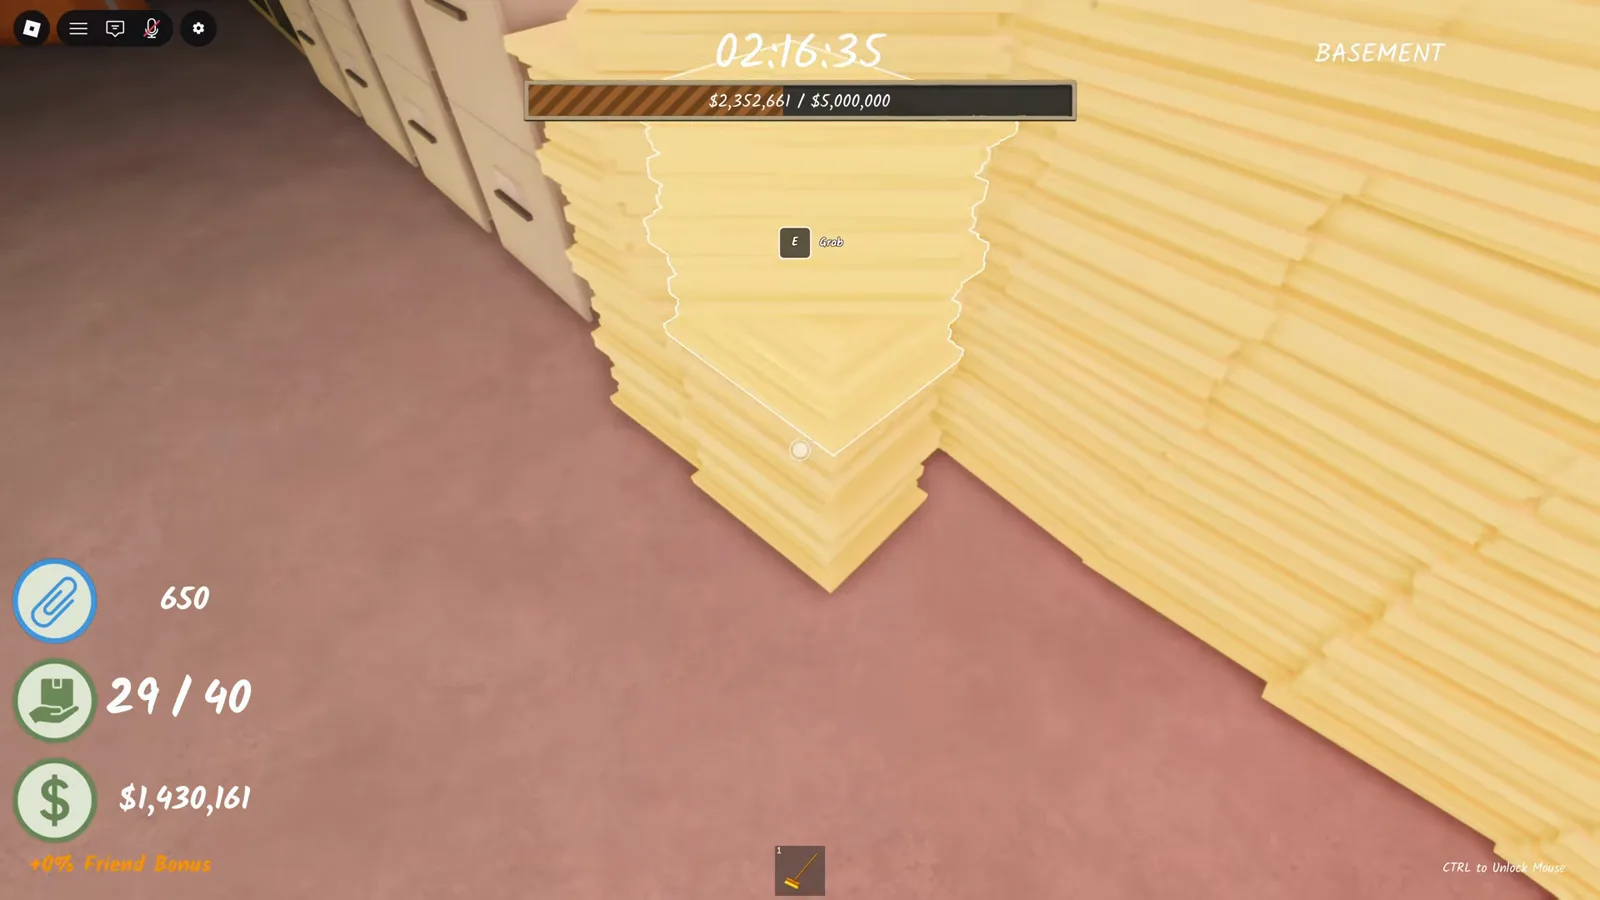
Clear the basement like any other room. Towering paper stacks wait near the shredder bank — carry them over, feed the shredders and sweep the scraps to the vacuum. One oddity from this recording: the basement shredders took four sheets per load instead of the usual five.
- 7
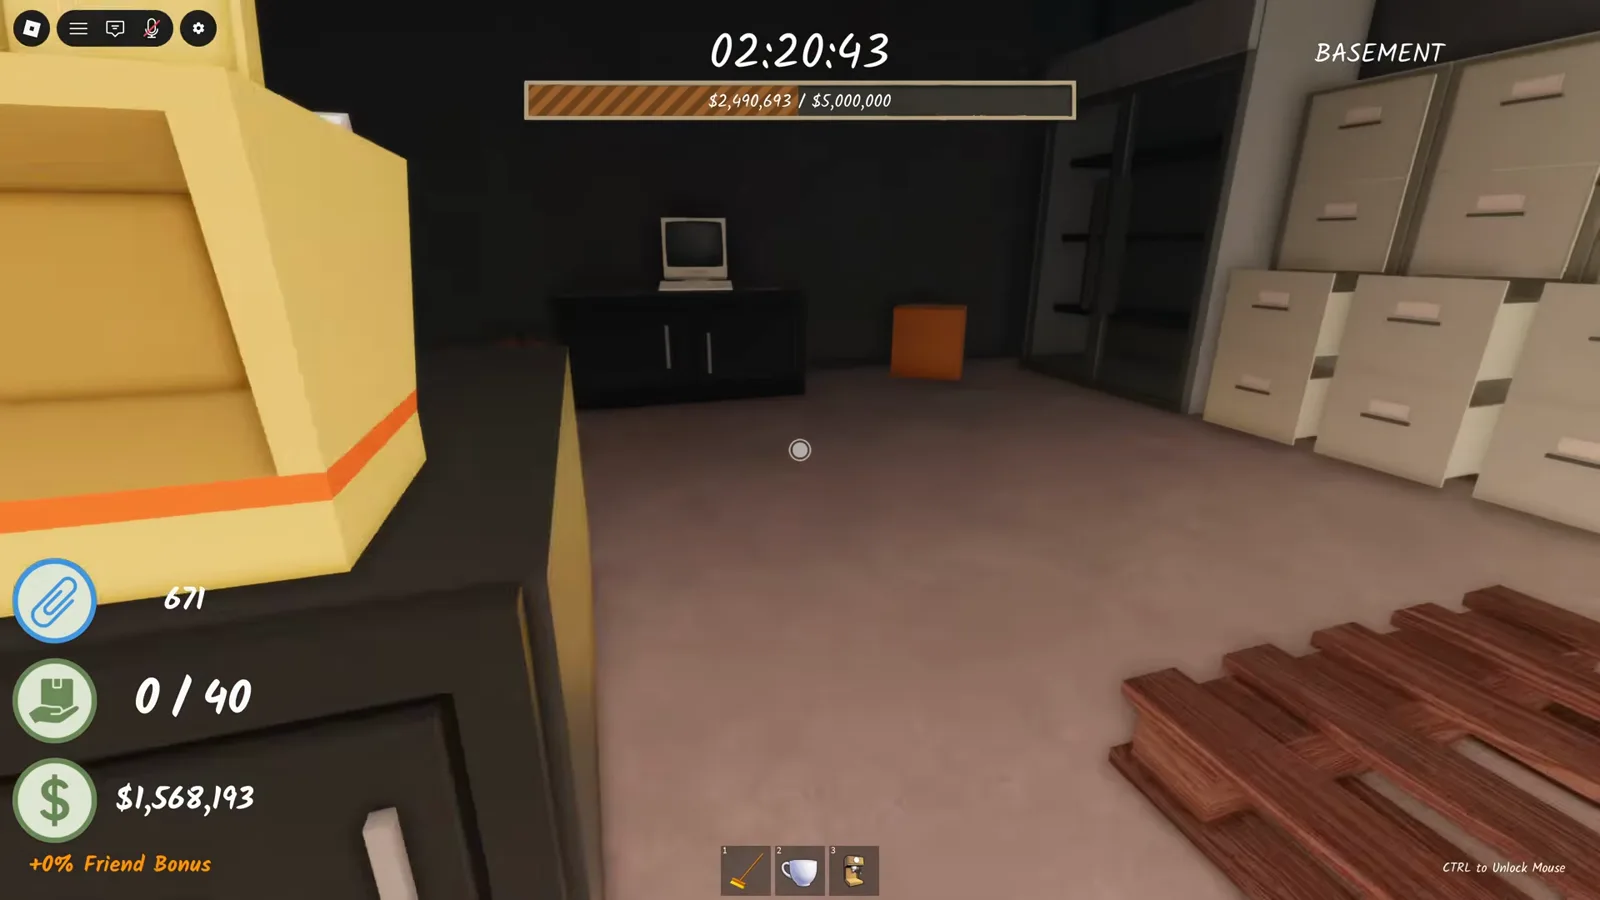
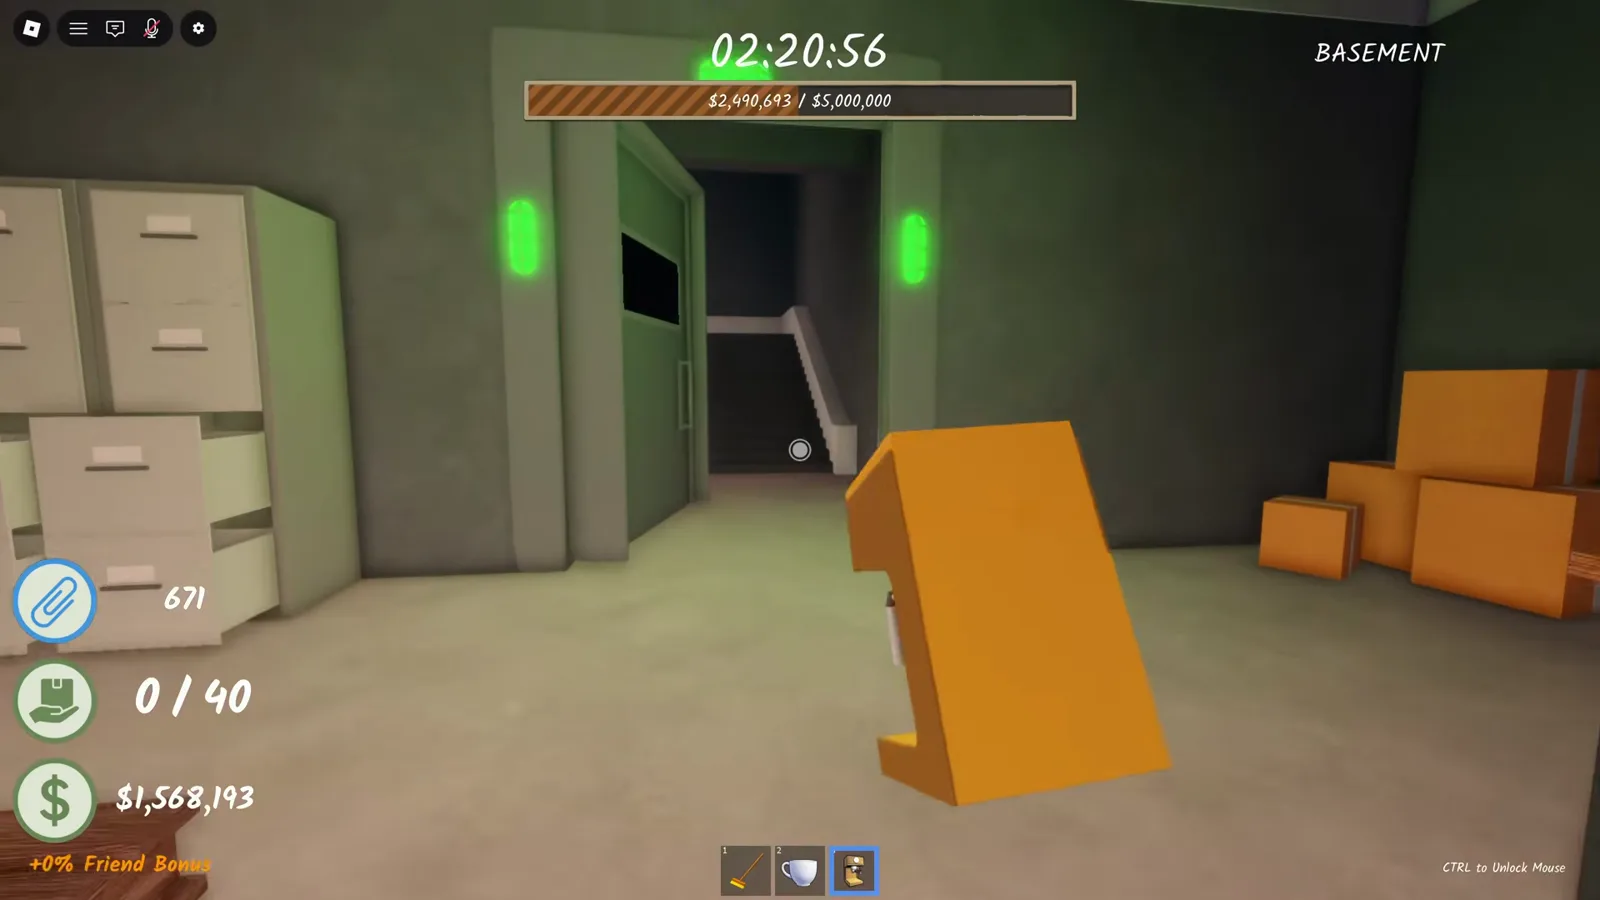
Grab the machine and cross the back break room. The espresso machine is fully portable — the recording carries it past a CRT computer (which does nothing when clicked) and a wall of filing cabinets on the way to the elevator.
- 8
Call the elevator and ride up with everyone aboard. The panel by the stairs shows a green up arrow and a red down arrow, and the game insists everyone gets in — solo, that is just you. The doors open straight into the under renovation office on the floor above. What the ride awards: Joy Ride guide.
Basement FAQ
Related guides
Room 6 Guide
RoomsThe floor above: cobwebs, the crowbar and the planked doorway that opens this basement — /room-6.
Items Reference
ItemsCrowbar spawns and the espresso machine's full mechanics, including the "golden coffee machine" mix-up — /items.
Joy Ride
BadgeThe badge tied to the basement elevator ride, with its own illustrated page — /joy-ride.
Ending 2 (Dark Secrets)
EndingsWhere the red button leads: the full crowbar-to-reveal route — /ending-2.
Rooms Reference
RoomsWhere Room 6, the basement and the elevator sit in the 12-room order — /rooms.
All Endings Guide
GuideHow the three finales bypass or pass through this floor — /guides/all-endings.
Sources & data notes
Route facts on this page come from the repository (rooms, items and endings tables) cross-checked against one primary recording: InterndotBlox, I Shredded EVERY Paper in Roblox Shred the Secrets (uploaded 2026-08-05 on the current 12-room build — the creator notes on camera that the room counter jumped from 8 to 12, and solo-save behavior shows up at the reload around 09:13; every caption carries its source timestamp, deep links use ?t= seconds). The basement frames: the dark stairwell opening at the back of Room 6 (?t=876), the cleared planked doorway with the Intruder badge toast (?t=898), the espresso machine under its Espresso Machine blueprint poster in the intro cutscene (?t=908), the orange Caffeinated view with the cup countdown (?t=952), carrying a paper tower to the shredder bank (?t=976), the Caffeinated toast with 59 seconds on the cup (?t=992), carrying the machine through the break room (?t=1032) and the elevator doors opening (?t=1040). The two-minute brew, the one-minute Caffeinated burst and the portable machine match the coffee FAQ on our items page; the planks → basement → coffee → elevator chain matches the route documented on Ending 2, and the floor order matches our rooms page. Every second used here is distinct from the frames that page already took from the same recording. Still UNKNOWN: the exact moment the Dark Secrets toast fires, whether a solo elevator ride earns Joy Ride, what the break-room computer is for (it did nothing here), and whether the basement shredders' four-sheets-per-load behavior is standard (one recording's observation).