
Shred the Secrets Walkthrough: All 12 Rooms, Phone Location & All Endings
Full Shred the Secrets walkthrough for all 12 rooms: the phone location and Room 3 key, the fake exit trap, hidden buttons, the Room 12 vault and all 3 endings.
On this page
Quick answer: how do you beat Shred the Secrets?
Updated August 4, 2026 for the July 30 [ENDING 3] update, which extended the run from 8 rooms to 12.
A full run of Shred the Secrets is now 12 rooms, and every room follows the same loop with a new twist:
- Shred paper to open the door. Each room's exit unlocks after you shred enough of its paper — you rarely need every last stack, so clear a path, cash in, and move.
- Re-buy upgrades every room. Shredder upgrades (Automatic Shredder, Shred Amount) reset between rooms; Shred Amount first is the community-standard buy order.
- Look away from the FBI. When the agent flashes in with a "Look Away!" warning, turn your camera off him and keep working. There is no fixed FBI timer — he appears at random, so just be ready.
- Grab the room secrets on the way. Room 3's key, phone and Golden Shredder, Room 4's fake exit, Room 5's hidden buttons and Room 6's crowbar are all on the main path.
- Pick an ending at the end. Room 5's secret document is Ending 1 ("What?"); the Room 6 crowbar → basement → elevator route is Ending 2 ("Dark Secrets"); pushing on through the new Rooms 8-12 to the Room 12 bank vault is Ending 3 ("Whistleblower").
- Time budget. Expect a bit over an hour solo — the 12-room Ending 3 reference run below escaped in 1:13:00, and pre-update 8-room solos took ~53 minutes (bwoo). Finishing solo also earns the Understaffed badge.
Sources
Every step below deep-links to the exact second in the source footage. Huge thanks to these creators:
- bwoo — full solo run hitting Ending 1 (room-by-room footage: FBI, Room 3 secrets, fake exit, cobwebs)
- ItsChalls — full guide and walkthrough (tutorial steps and the $193 reward)
- OTTER ON ROBLOX — i was forced to SHRED an entire OFFICE in Roblox (upgrade shop close-up)
- InterndotBlox — I Have To SHRED All the Evidence in Roblox (hidden-button room)
- Bax — I Can't Leave until I SHRED EVERYTHING (crowbar, basement and the Ending 2 route)
- Mediastic — Shred the Secrets: Ending 3 + New Rooms! (the new Rooms 8-12: WARNING floor, cobweb catwalk, testing lab, Mesa Corp, bank vault — every Rooms 8-12 screenshot on this page)
Room 1 — learn the loop
- 1
Read the note and check the $1,000,000 goal
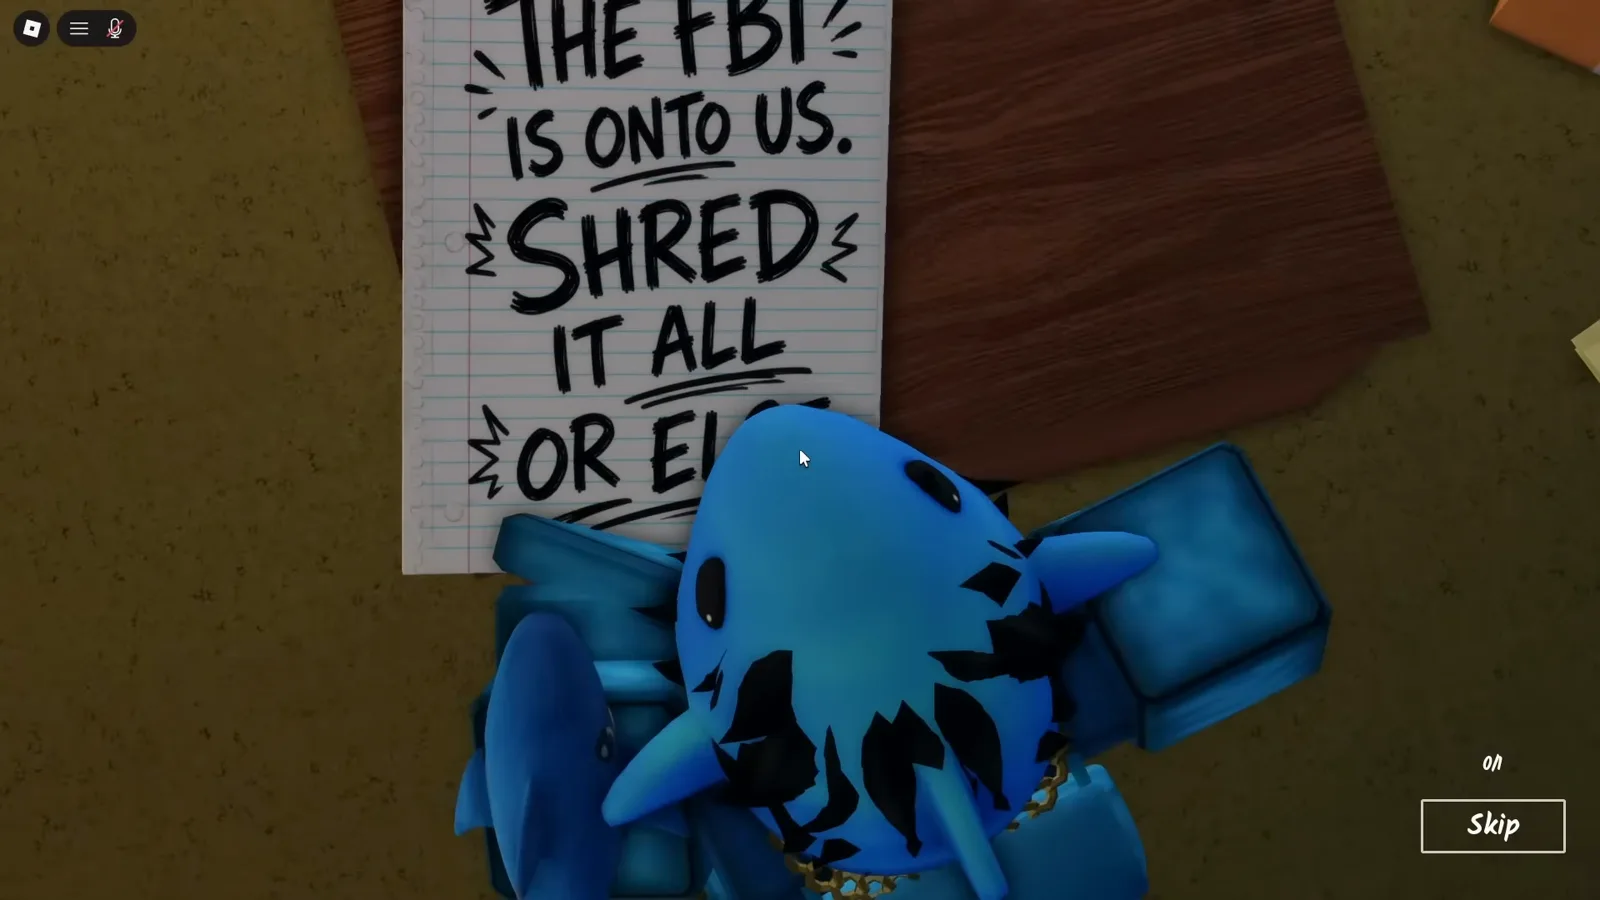
Every run opens with a handwritten note on the desk: "THE FBI IS ONTO US. SHRED IT ALL OR ELSE." The bar at the top of the screen tracks your earnings toward $1,000,000 — banking a million in one run also earns the Million badge. Your job is simple to say and long to do: shred the office's paper towers and turn the scraps into cash.
The briefing note every run starts with.Watch at 0:21 - 2
Finish the tutorial loop
The tutorial teaches the whole core loop in one sheet of paper: grab a document, feed it into a shredder, crank the handle to recharge the machine, pick up the paper balls it spits out, then right-click to throw them into the recycle bin for cash. Finishing the sequence pays your first $193.
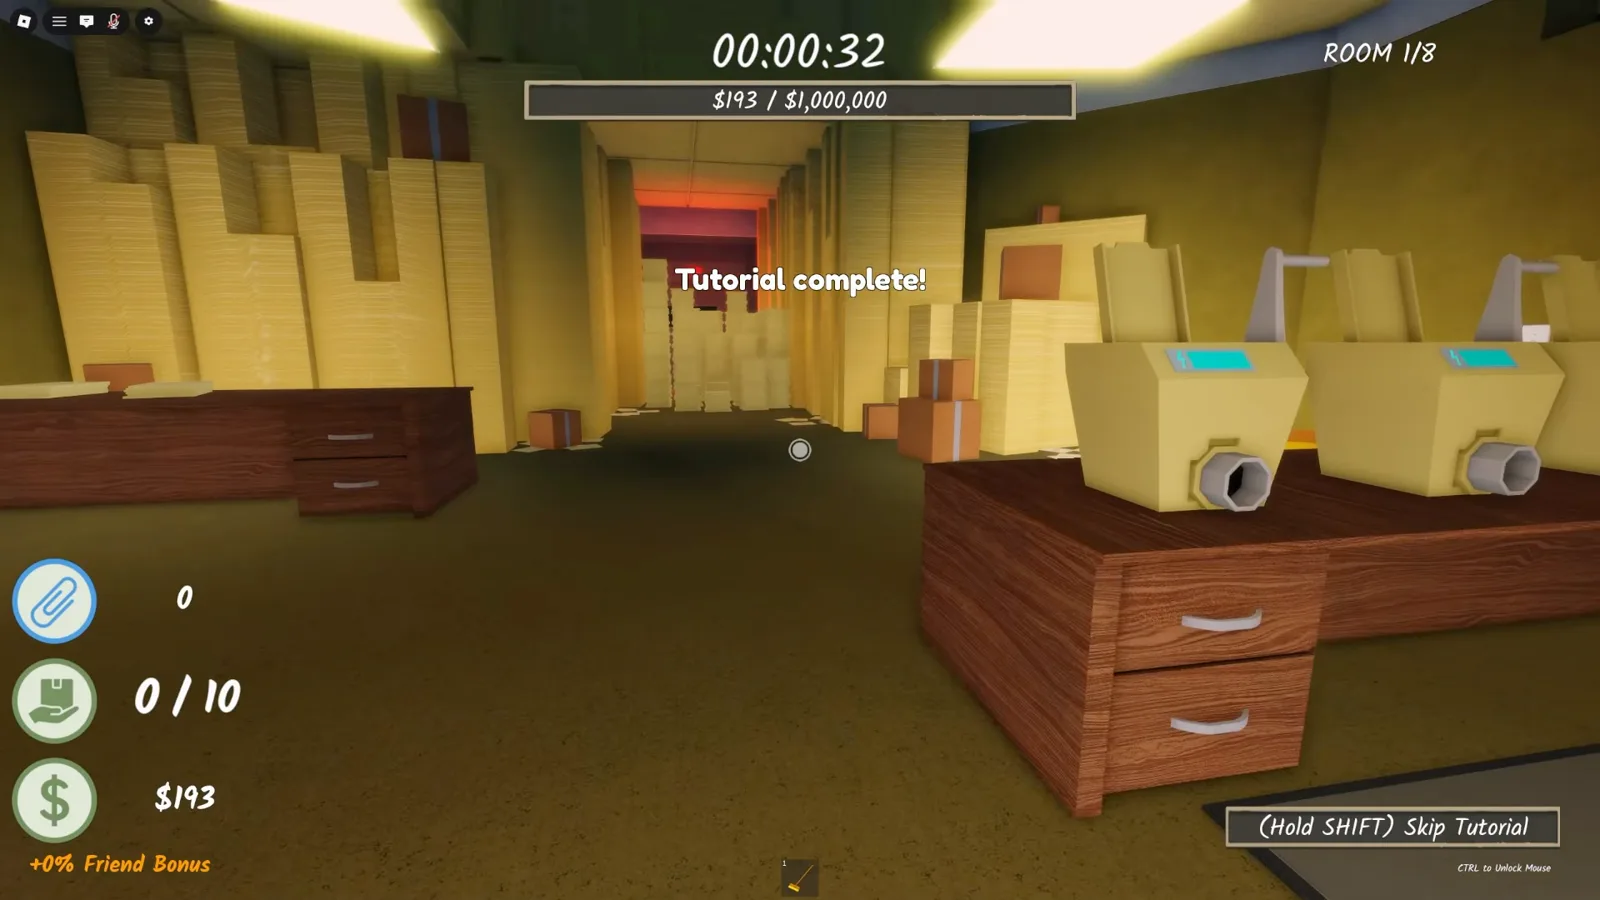
Tutorial done — the first $193 lands.Watch at 0:50 - 3
Clear the pathway to the door
Room 1's exit unlocks once you shred enough paper — the objective chat spells it out: "Clear the pathway to open." You do not need every last stack; carve a route to the door, cash in the scraps, and go. A full run is 12 rooms since the [ENDING 3] update, so pace yourself.
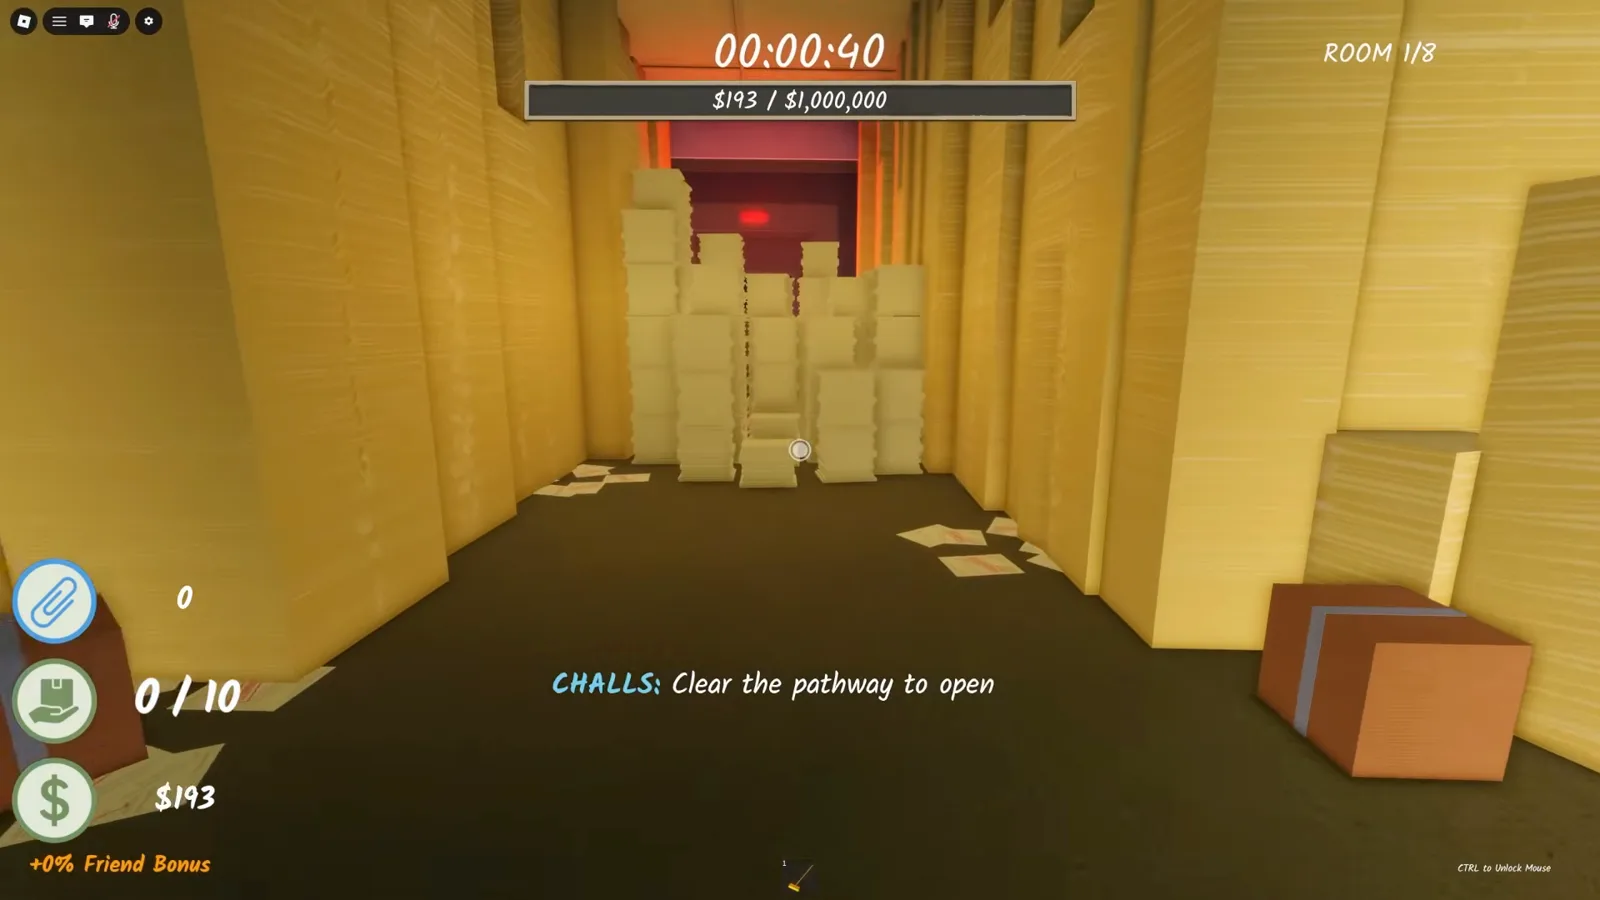
The door quota is a pathway, not a full clear.Watch at 0:58 - 4
Spend your cash at the room's upgrade shop
Every room has its own upgrade shop selling Shredder Speed, Carry Amount, Automatic Shredder and Shred Amount. Shred Amount is the community favorite first buy — more paper per pass means faster money. Some tiers stay locked until you reach later rooms, so check back as you progress.
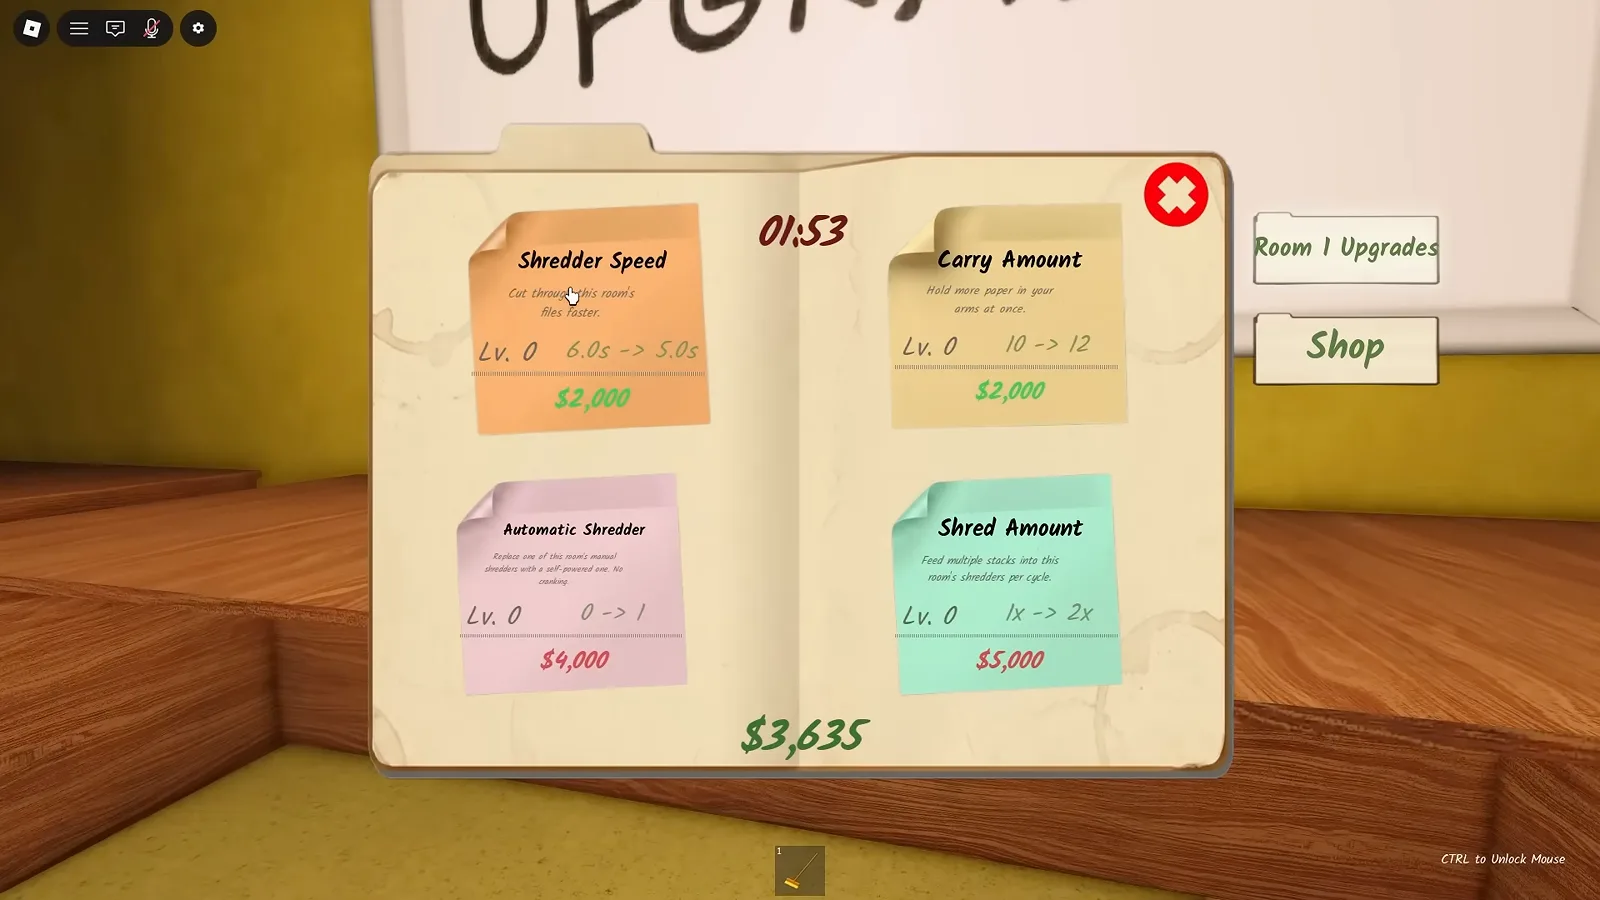
The Room 1 shop — each room gets its own.Watch at 2:06
Rooms 2–4 — FBI, resets and room secrets
- 5
Room 2: look away when the FBI appears
From Room 2 onward, an FBI agent can flash into the room with a "Look Away!" warning hanging over him. Turn your camera off him and keep working — the run goes on. Players report that deliberately staring is what gets you caught, which is exactly how you earn the It's Not What It Looks Like badge (community-reported trigger). He is not on a schedule: there is no fixed arrival timer, and some recorded runs go most of an hour without a single sighting.
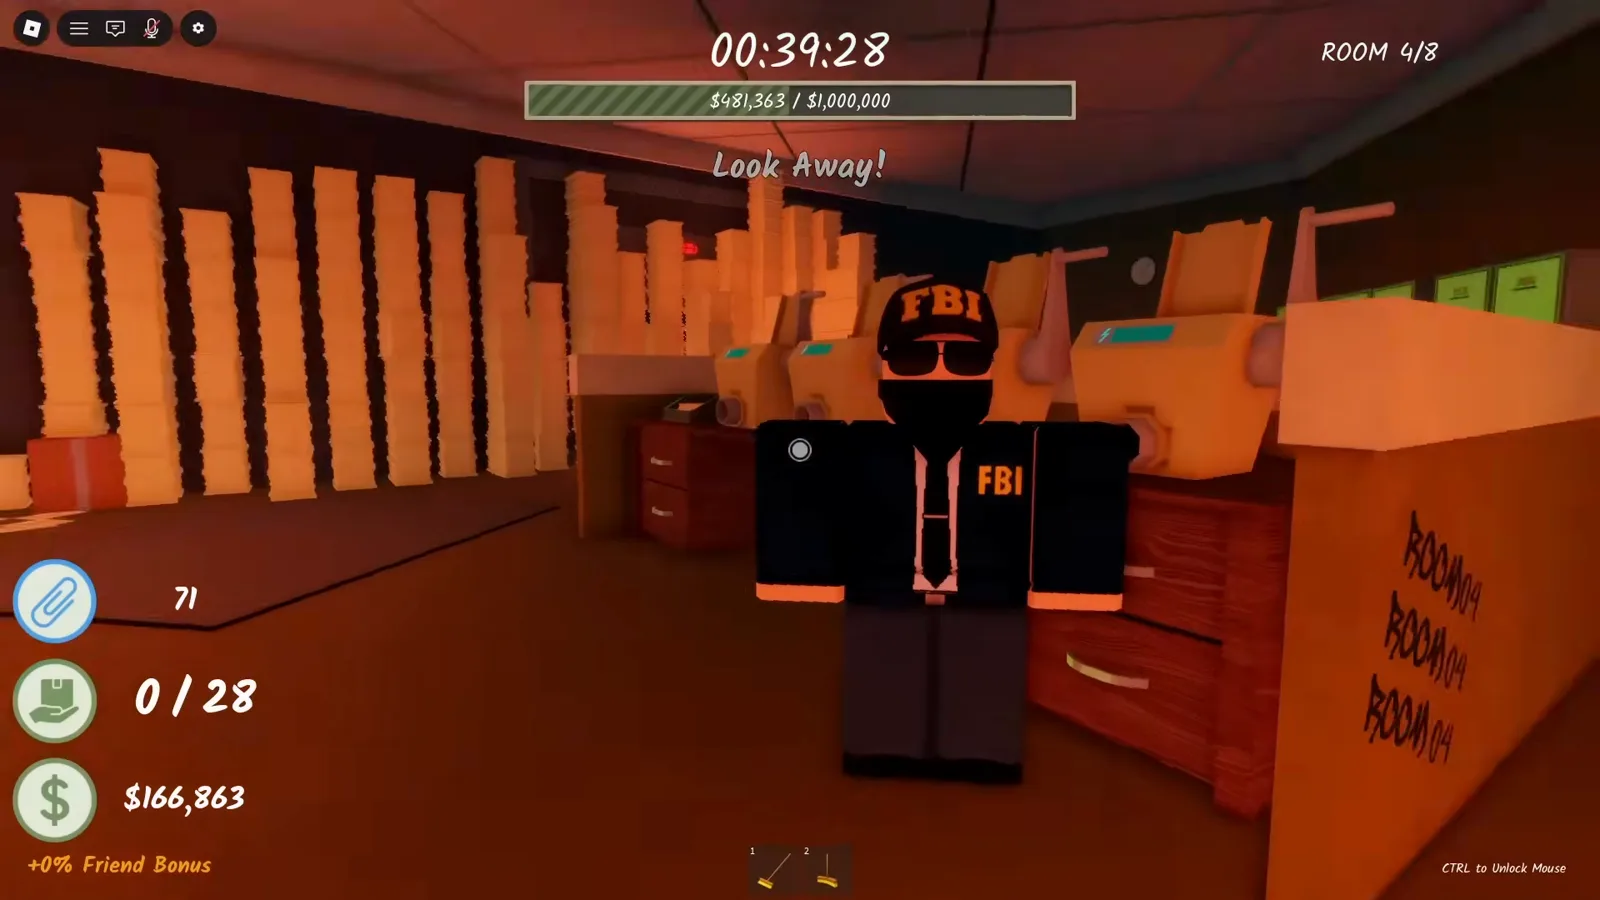
Look away and keep shredding.Watch at 16:35 - 6
Re-buy your shredder upgrades — they reset every room
Crossing into a new room wipes your shredder setup: automatic shredders and shred-amount levels are per-room purchases, and the fresh room's shredders go back to slow hand-cranked work. Budget for it — hit the new room's vendor and re-buy the essentials before pushing the next door quota.
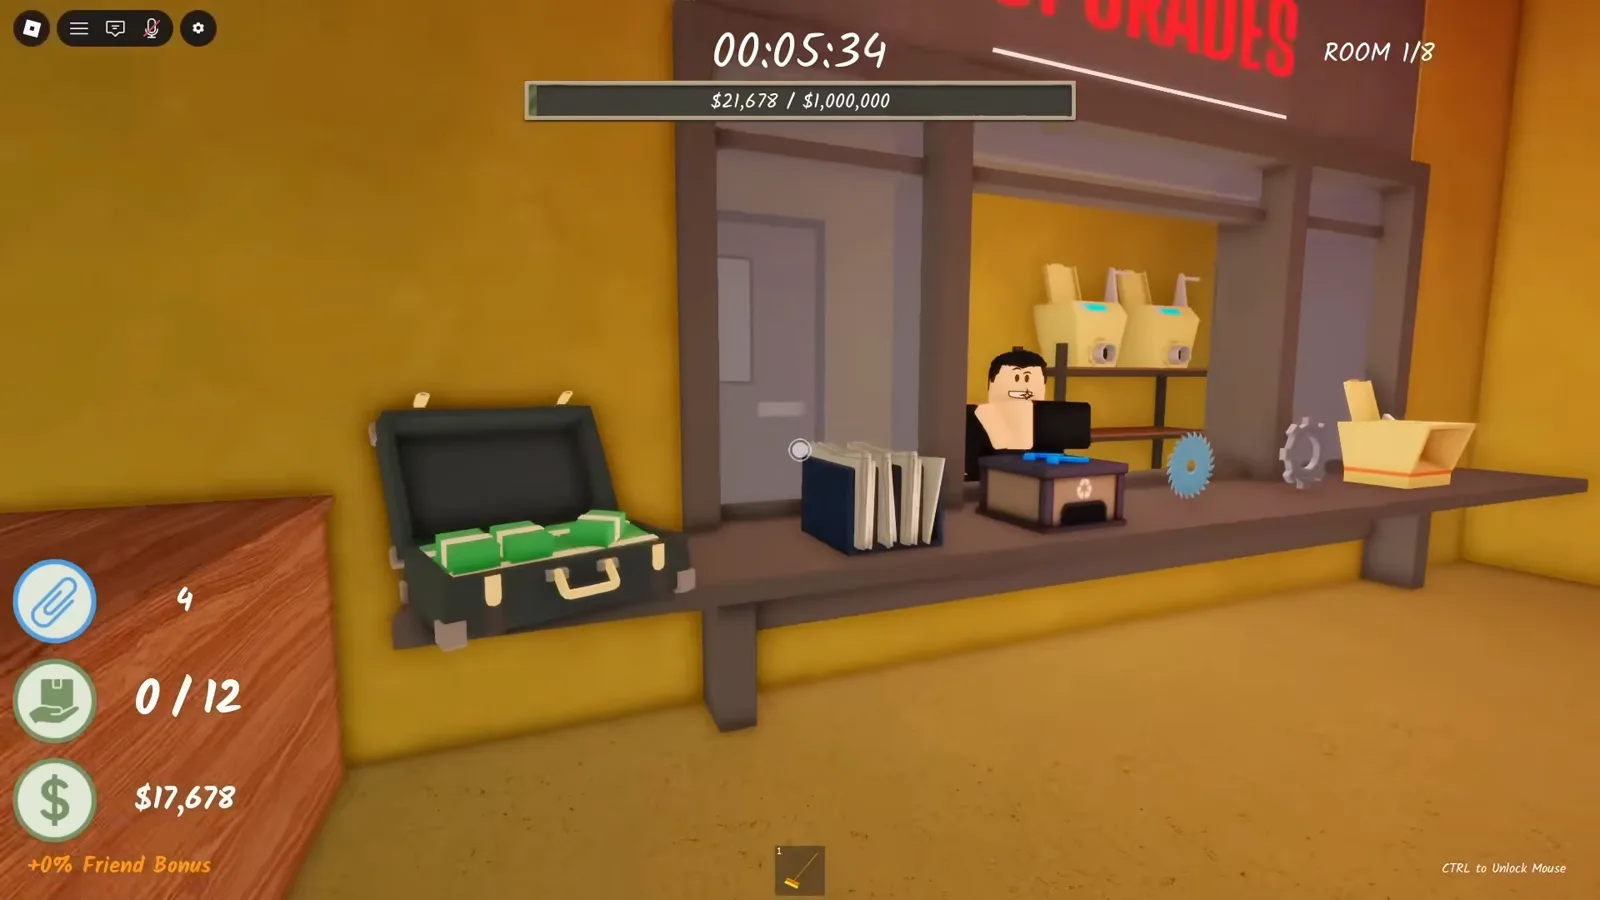
Every new room, the same shopping list.Watch at 4:19 - 7
Room 3: open every filing cabinet — one hides a key
Room 3 is a maze of filing cabinets. Most drawers are empty (opening 20 of them still earns the Nosy Co-worker badge), but one cabinet holds a key — and the key opens a locked side area that is easy to walk past.
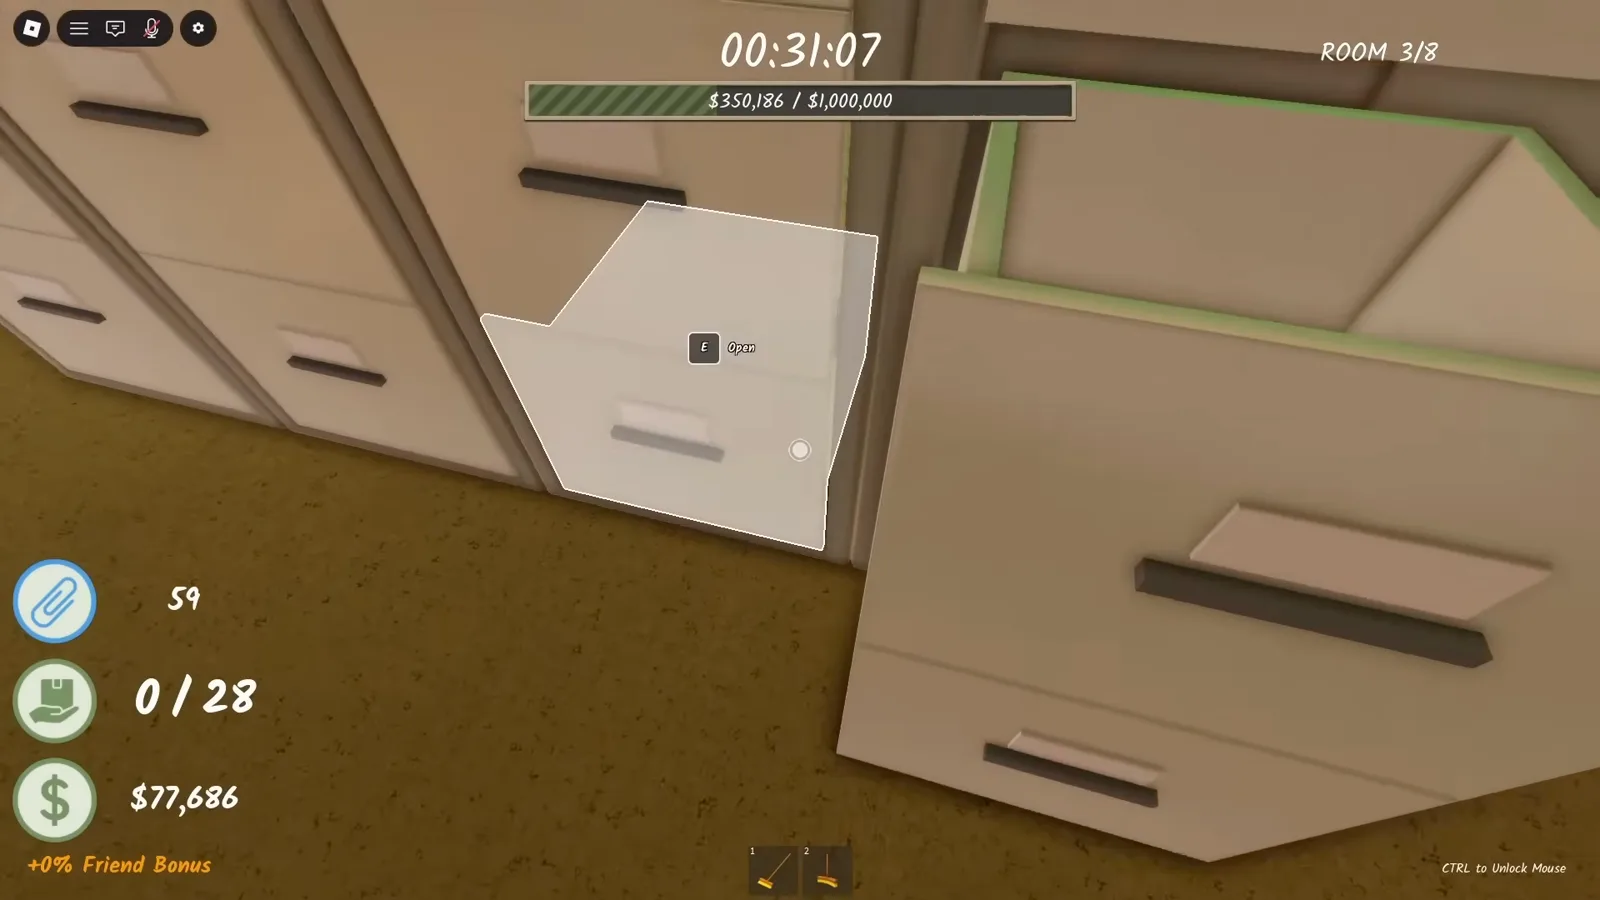
Most drawers are empty. One is not.Watch at 14:39 - 8
Meet the Sketchy Coworker
Behind the locked door waits the Sketchy Coworker. He forgot his phone somewhere in the office and promises to "make it worth your while" if you bring it back. Grabbing the key that got you here also earns the Keymaster badge.
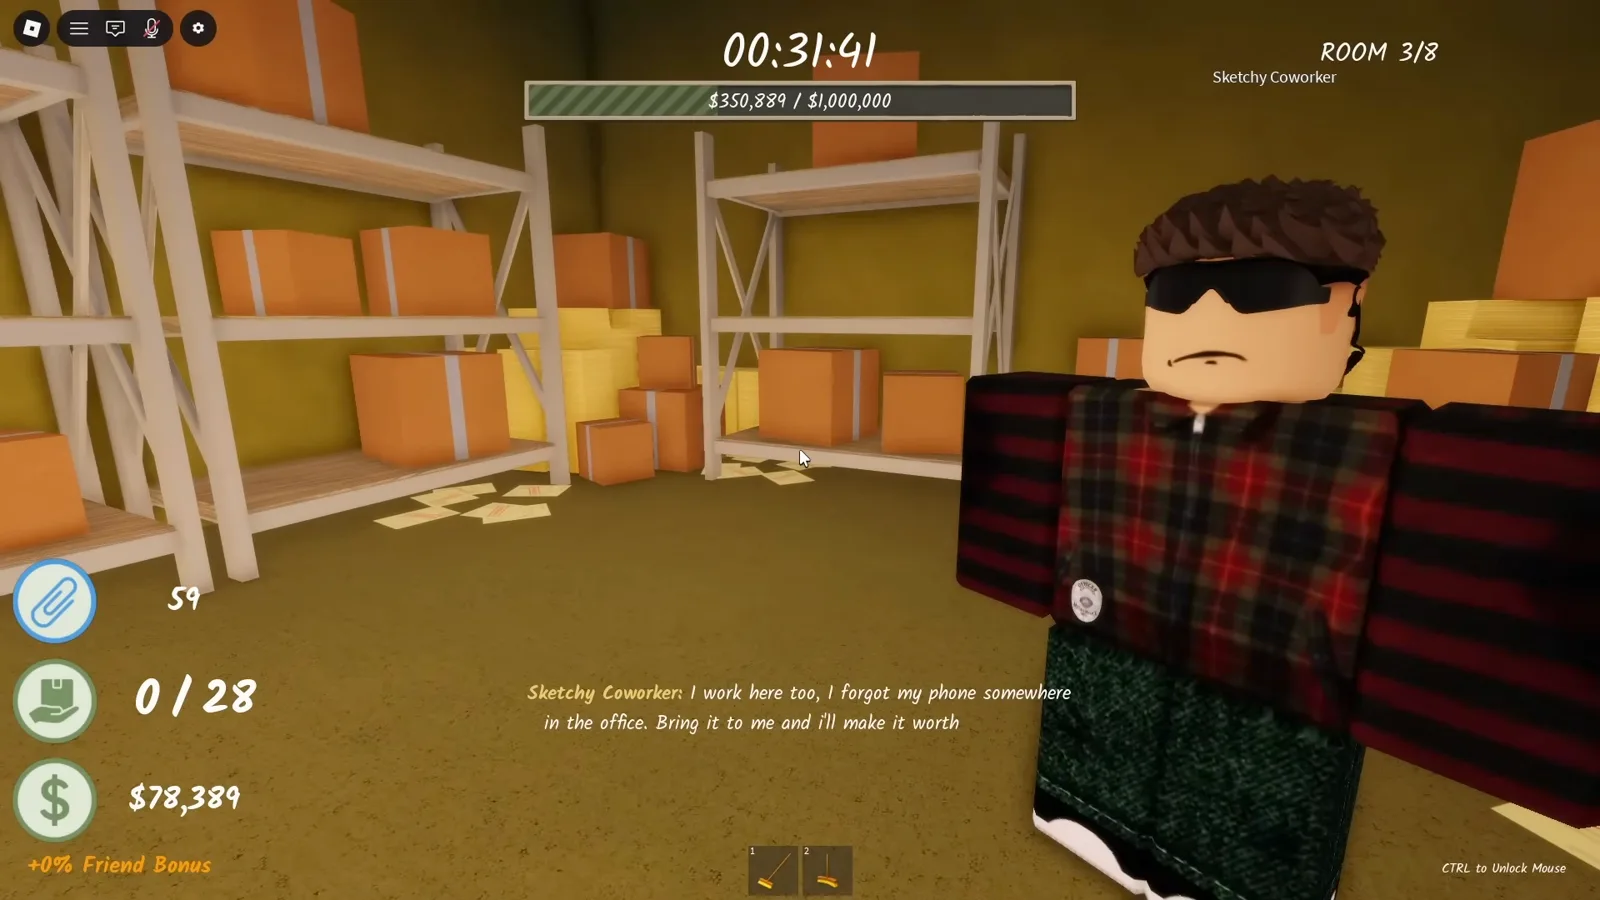
He lost his phone. You know how this goes.Watch at 15:09 - 9
Find the phone behind the shredders
Do not tear the whole room apart — the phone is sitting in the same area the entire time, near the shredders. Pick it up and carry it back to the coworker to cash in the favor.
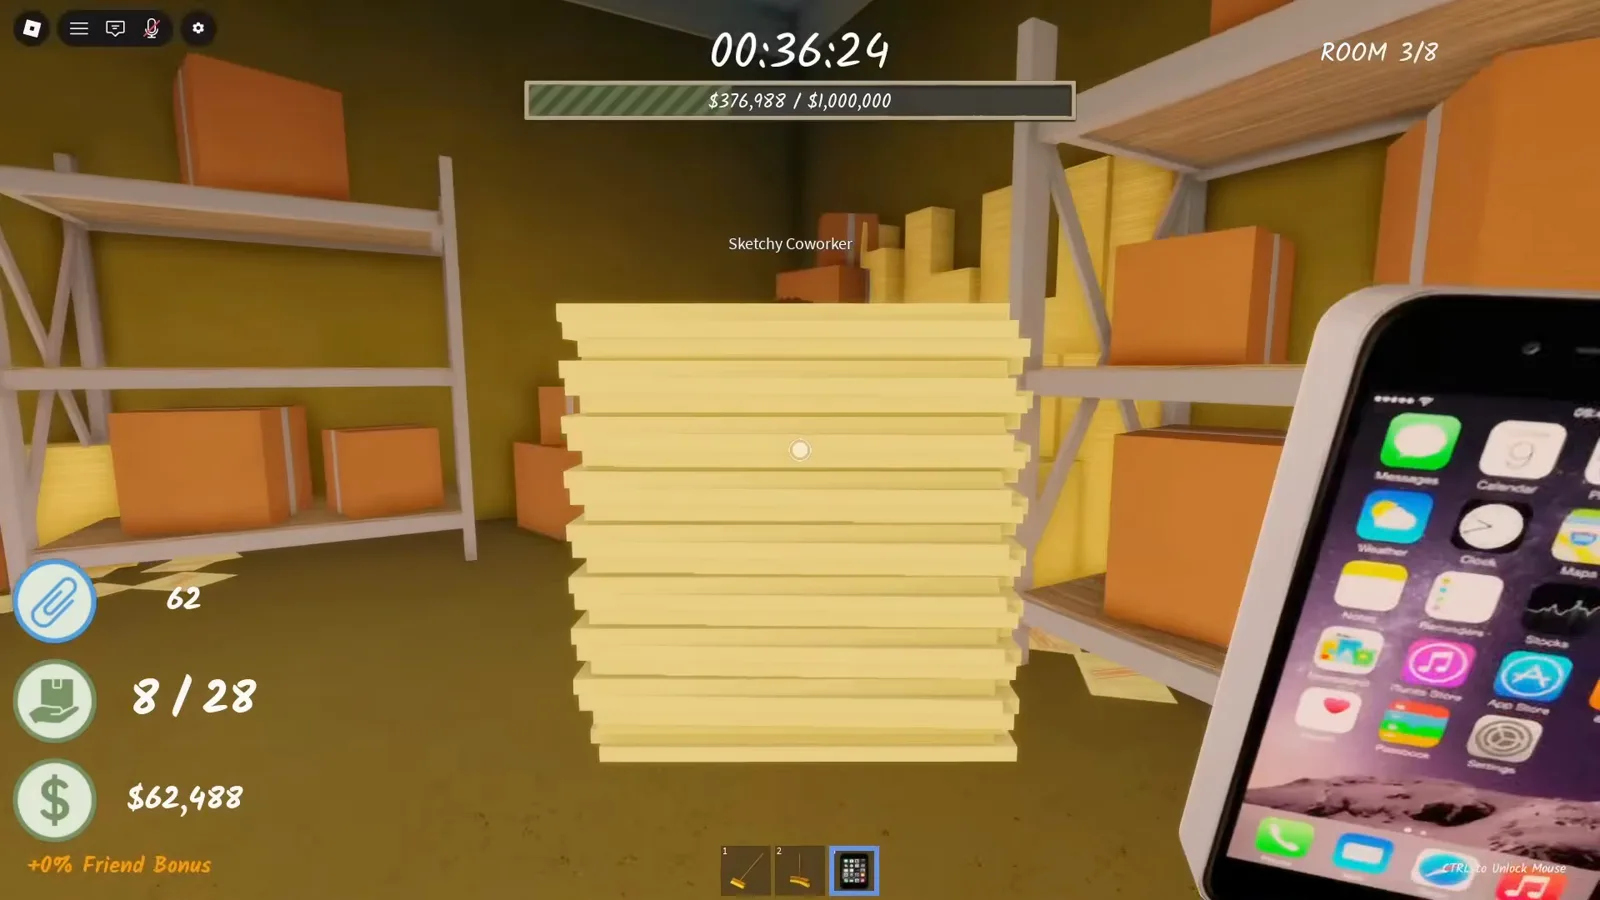
The phone was here the entire time.Watch at 15:41 - 10
Claim the Golden Shredder
Returning the phone pays out the Golden Shredder: hold interact on any shredder to install it, and that machine shreds six stacks per pass for double cash with no cranking. Shredding with it also counts toward the Solid Gold badge.
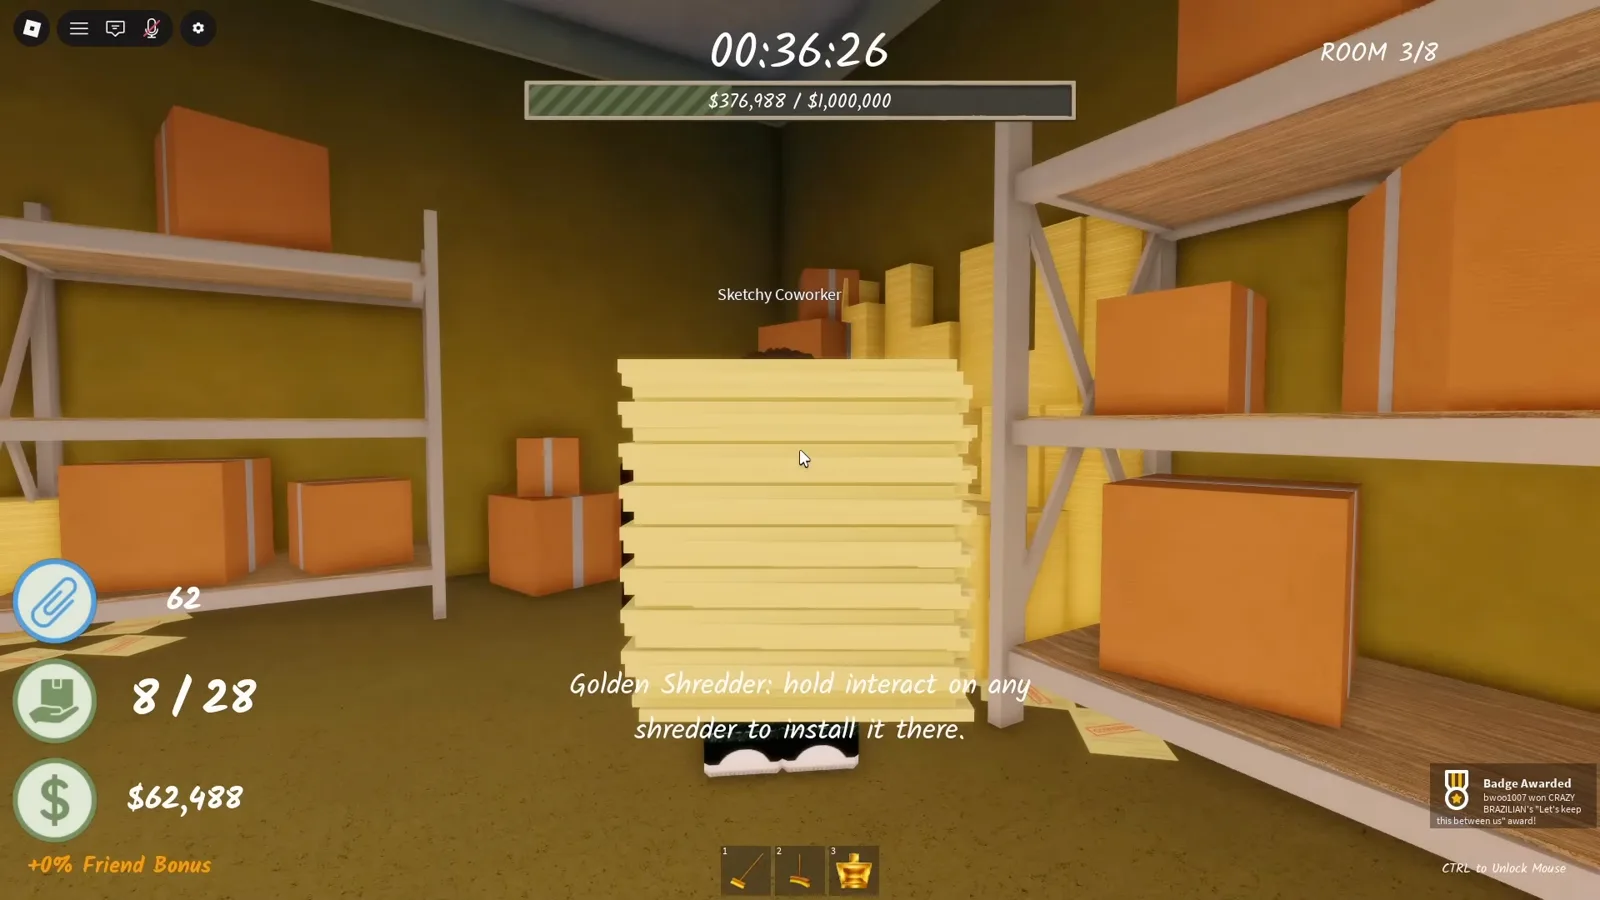
Best reward in the run: 2x cash, six stacks, no cranking.Watch at 15:44 - 11
Room 4: spot the fake exit
Room 4 hides a glowing EXIT door tucked behind the paper stacks. It opens — and leads nowhere, which is the joke: stepping through earns the Tricked badge. Have a laugh, then clear the real quota and move on.
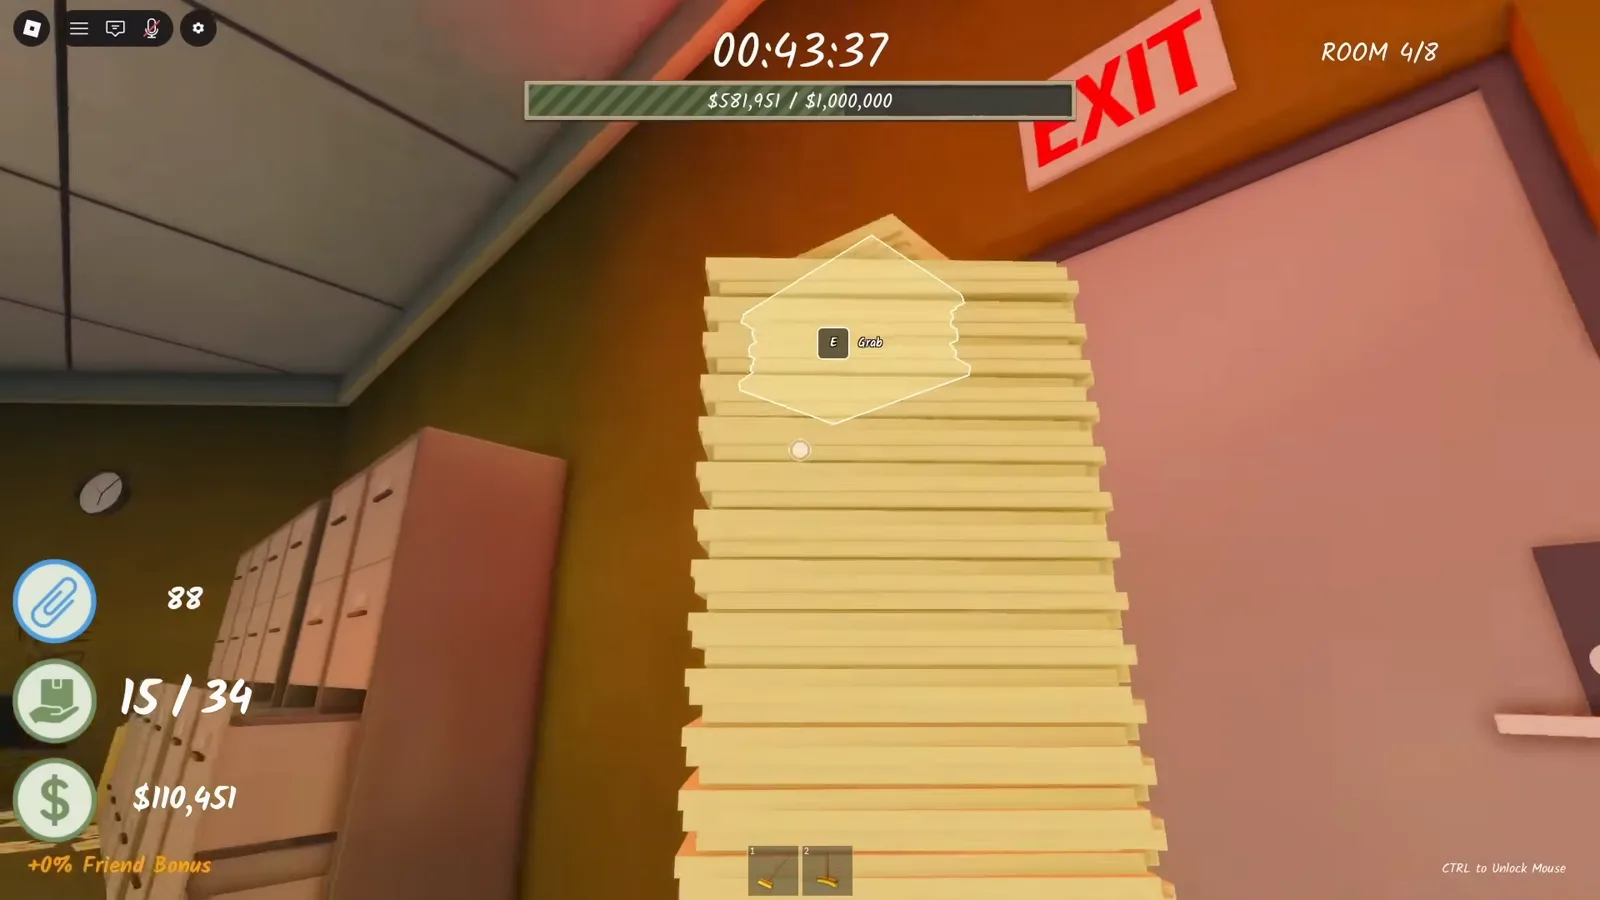
That EXIT sign is lying to you.Watch at 16:56
Rooms 5–8 — buttons, basement and the endings
Room 5's paper maze is where most runs stall: four buttons glow green between the columns, and clearing every second column reveals them. The exact answer, with the wall hint text: Room 5 buttons on the rooms page.
- 12
Room 5: find the 4 hidden buttons (the Ending 1 branch)
The button room drops the hint "Find the hidden buttons in the room to unlock the secret document." Four buttons hide between the floor-to-ceiling paper columns — clear every second column to open sightlines, press all four, and the side room with the golden secret document unlocks. That is the Ending 1 route; our endings guide walks it step by step.
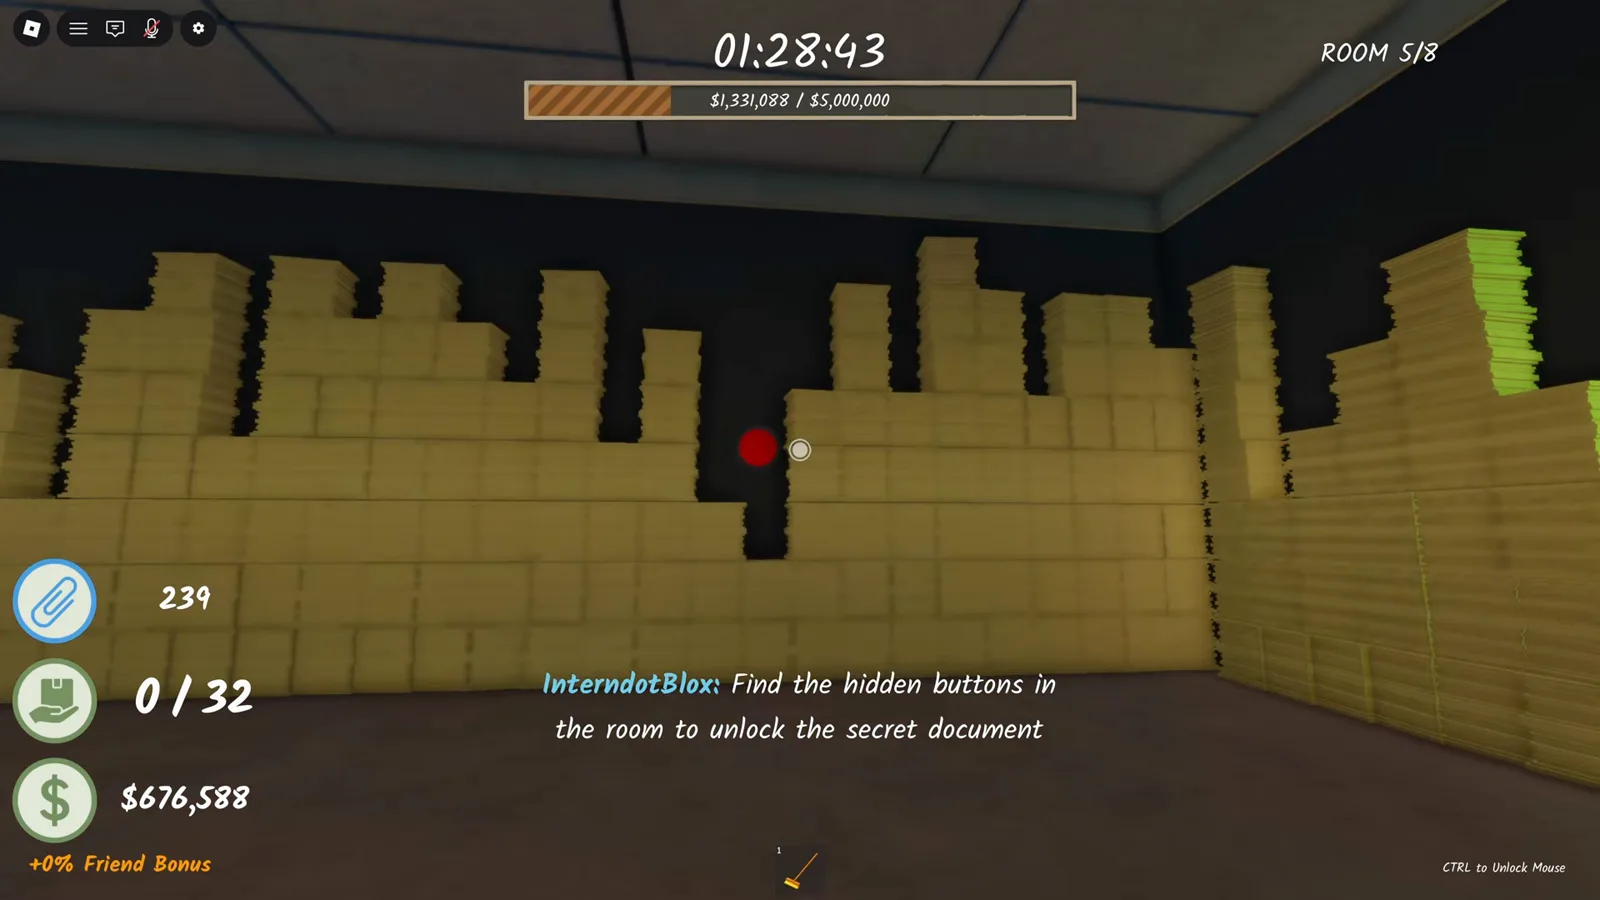
Four buttons, one secret document.Watch at 22:45 - 13
Room 6: broom the cobwebs
Room 6's floor is strung with cobwebs that get in the way of everything. Sweep them with the broom as you go — clearing 20 cobwebs across a run earns the Housekeeping badge.
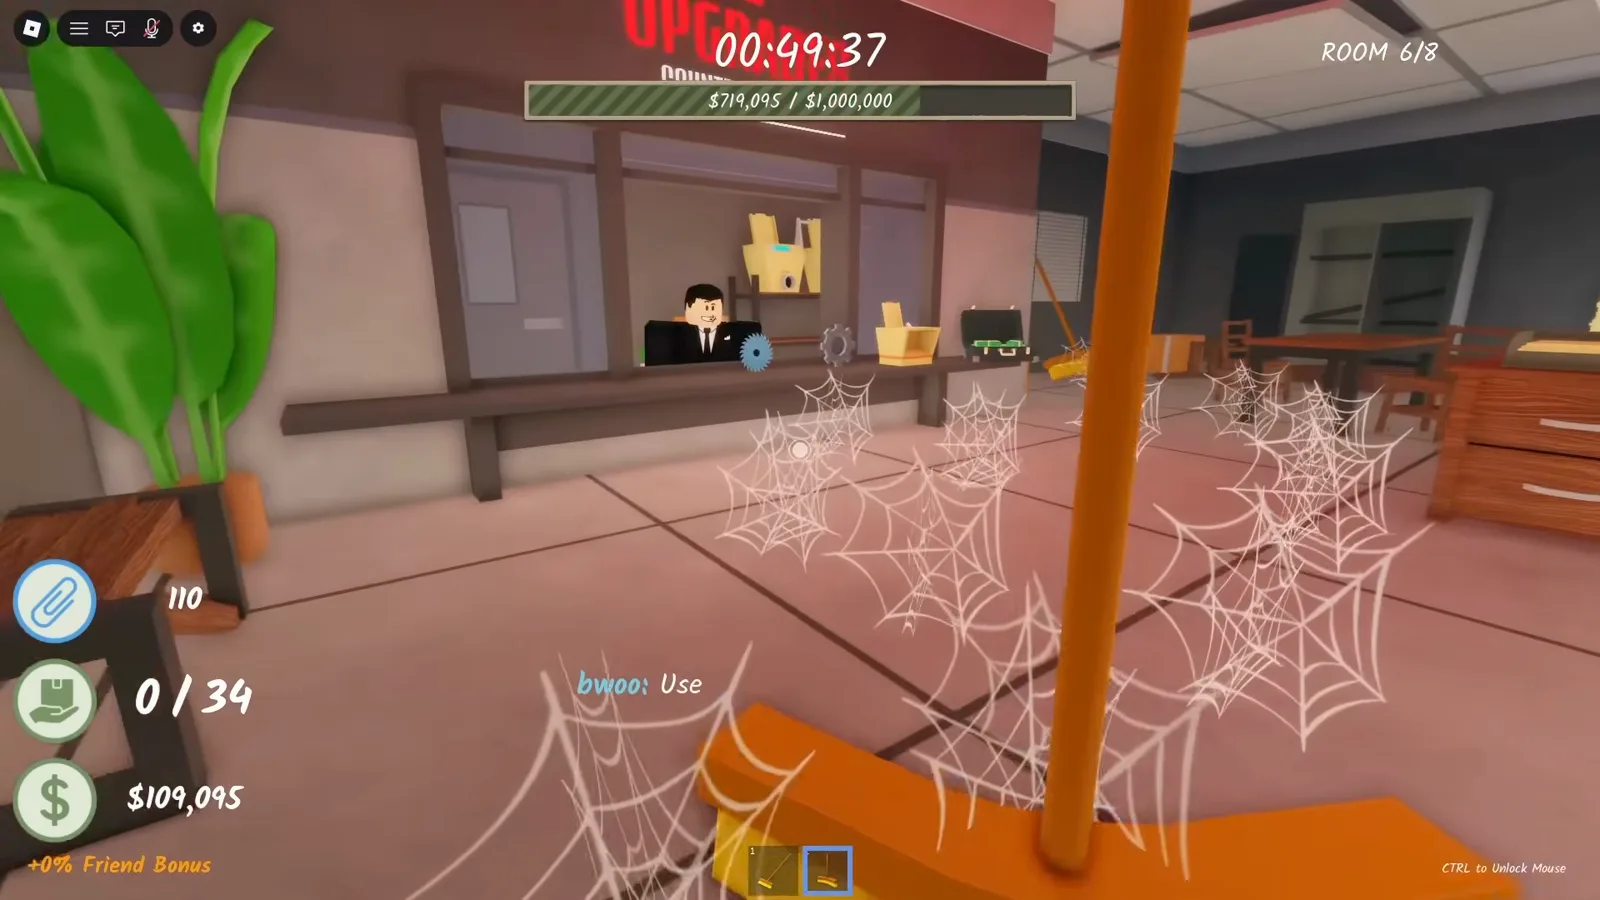
Broom out the webs before they slow you down.Watch at 18:33 - 14
Crowbar the boarded-up door
The crowbar waits somewhere in Room 6's cobweb room — in the current 12-room version it rests on the recycling bin on the Sketchy Coworker's upgrade counter (August 2026 footage); pre-update runs showed it glowing between the paper stacks. Take it to the doorway boarded up with wooden planks at the bottom of the room and swing until every single plank comes off. Breaking them all also earns the Intruder badge.
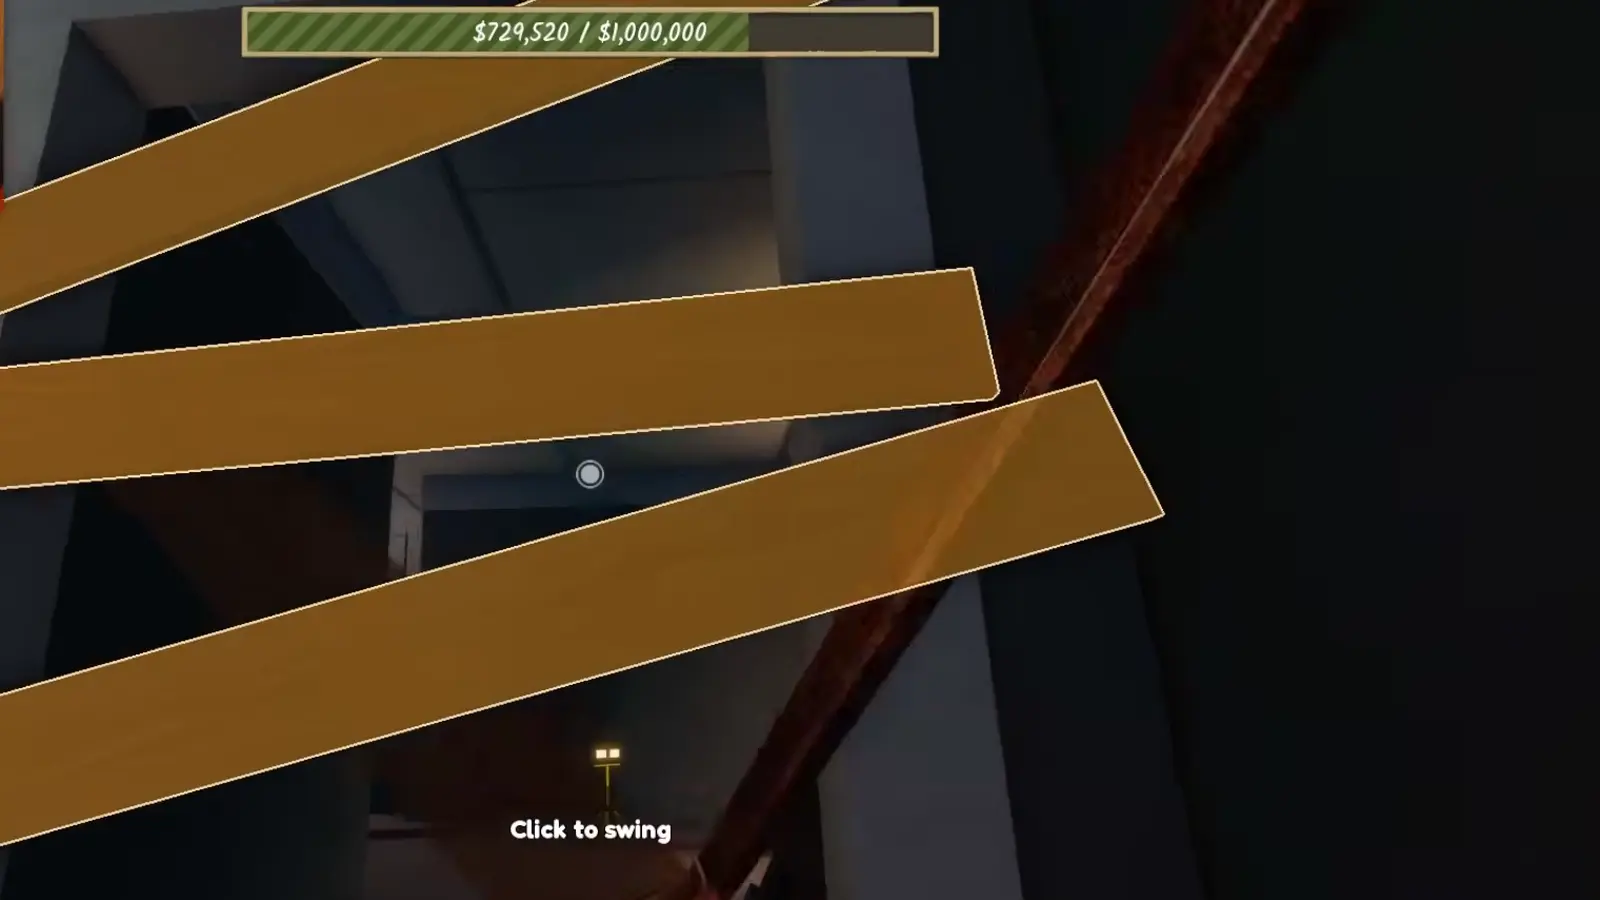
Every plank has to go.Watch at 14:57 - 15
Room 7: descend into the basement
The cleared doorway drops into a dark, cobwebbed basement. Grab the espresso machine (a fresh pot takes 2 minutes), drink for the Caffeinated shredding-speed buff, then get everybody into the elevator — riding it out earns Joy Ride. The endings guide covers the full basement route.
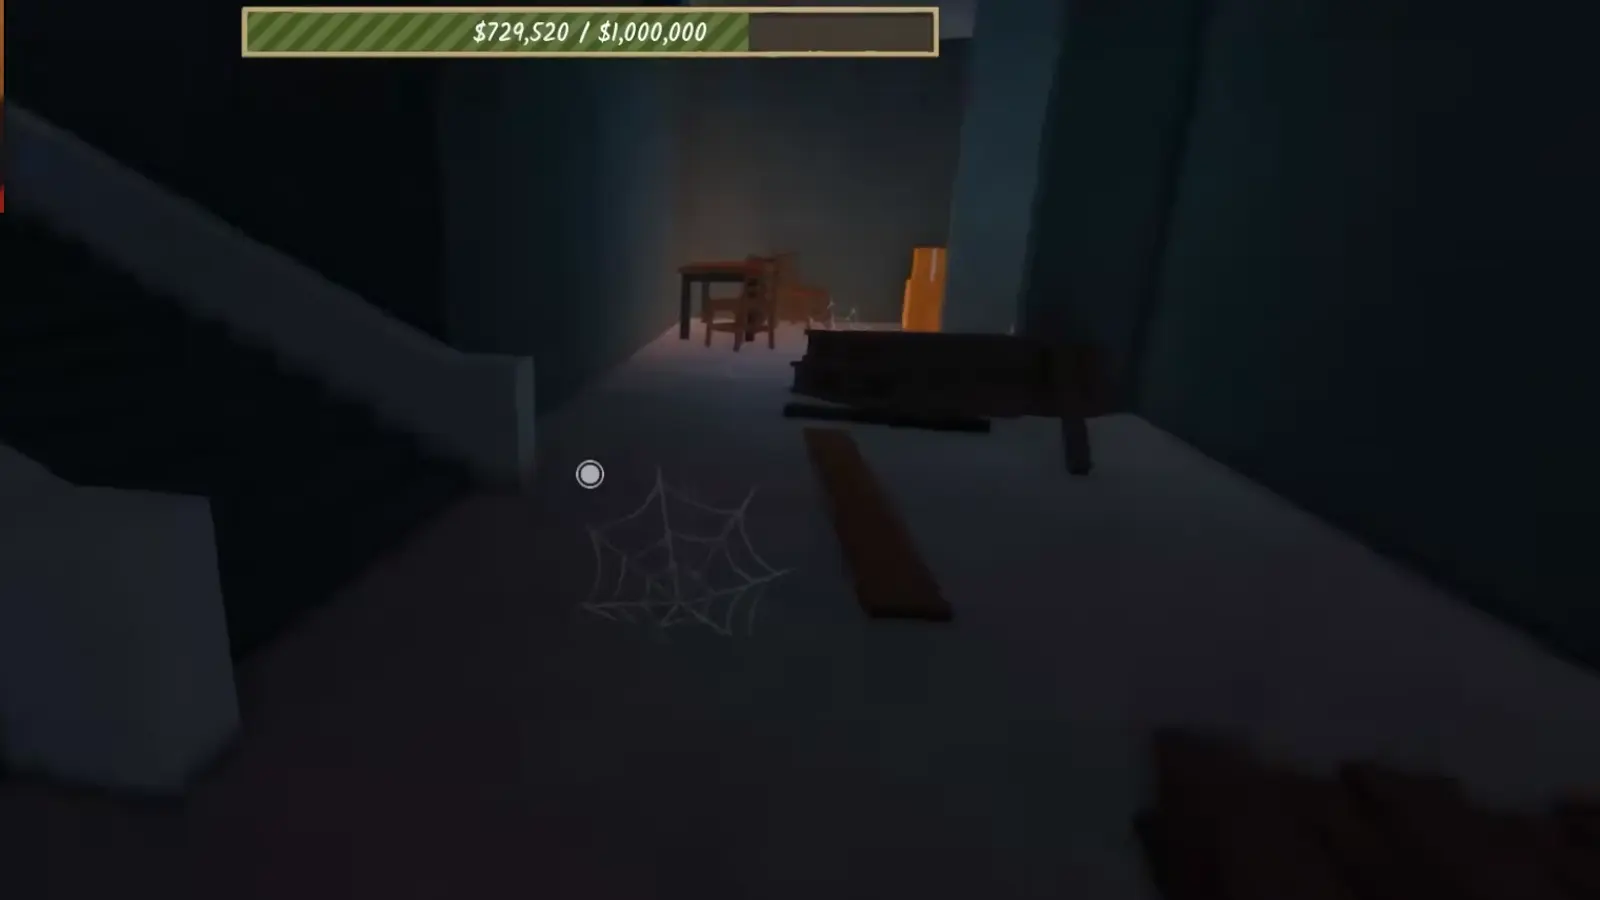
Down into the basement.Watch at 14:44 - 16
Room 8: press the final buttons and pick your ending
The elevator surfaces in an office under renovation, and the final room hides one last set of buttons behind the paper. Press them to trigger Ending 2's reveal. Reaching the Room 5 document never forces an escape — you can peek at Ending 1, decide it is a fake, and still finish Ending 2 in the same run.
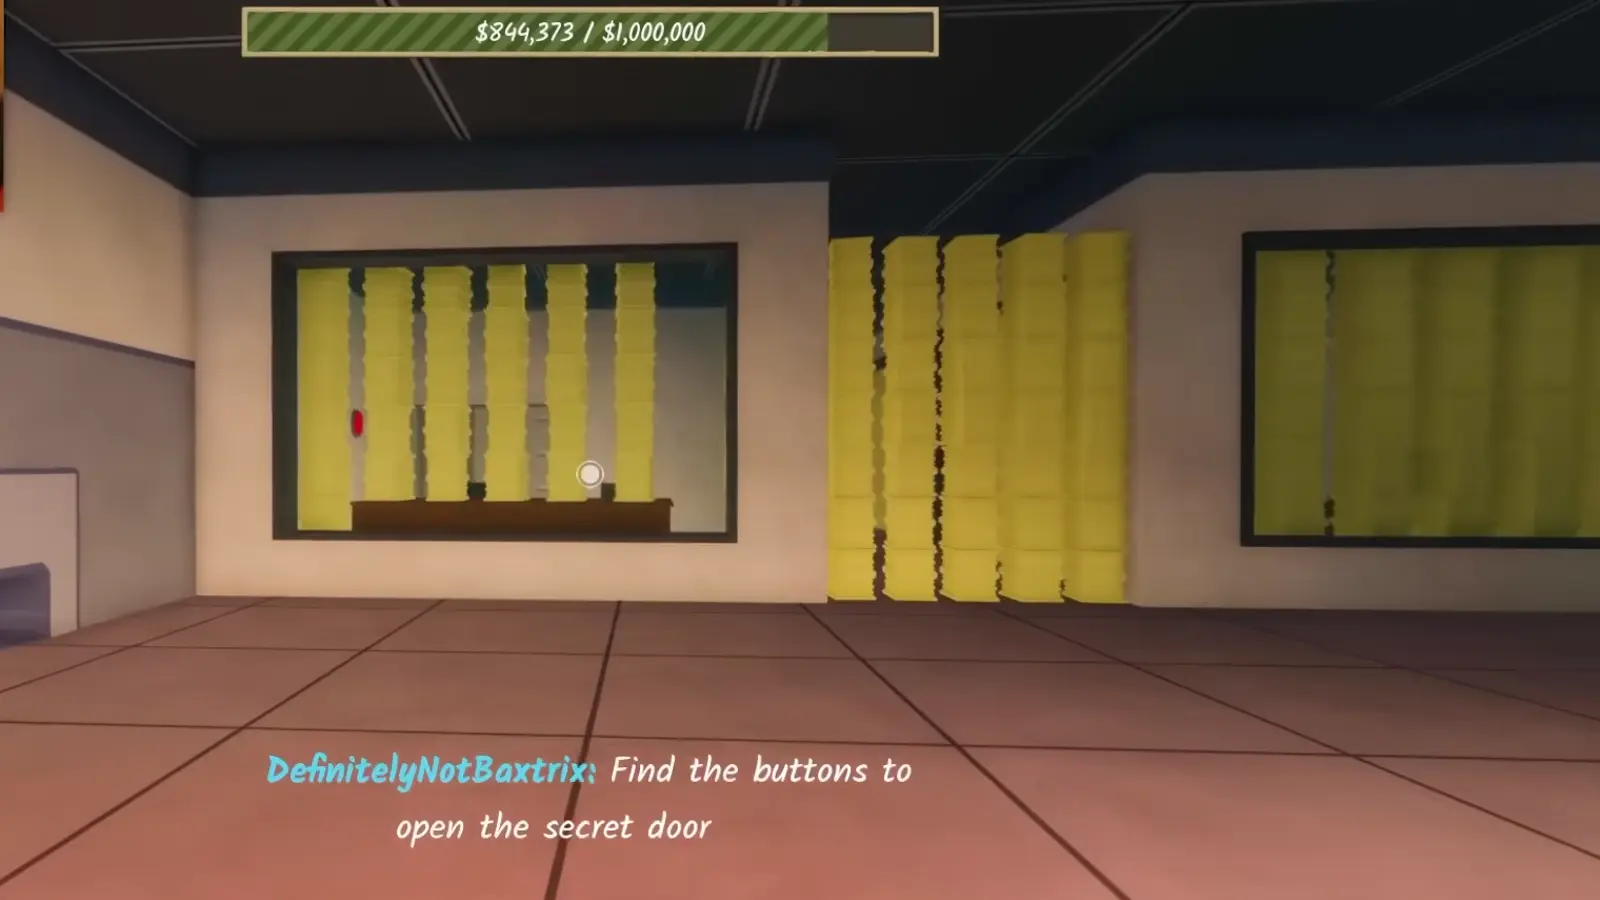
One last button hunt before the reveal.Watch at 17:24
Rooms 8–12 — the [ENDING 3] update: attic, Mesa Corp and the vault
- 17
Room 8: the run now goes to 12 rooms
The July 30 [ENDING 3] update extends the run from 8 rooms to 12 — the HUD now counts up to "ROOM 12/12". Room 8 is where the new content starts: the floor is taped off with WARNING markings, money goals climb as high as $5,000,000 per room, and each new room packs around 52 documents into its paper towers.
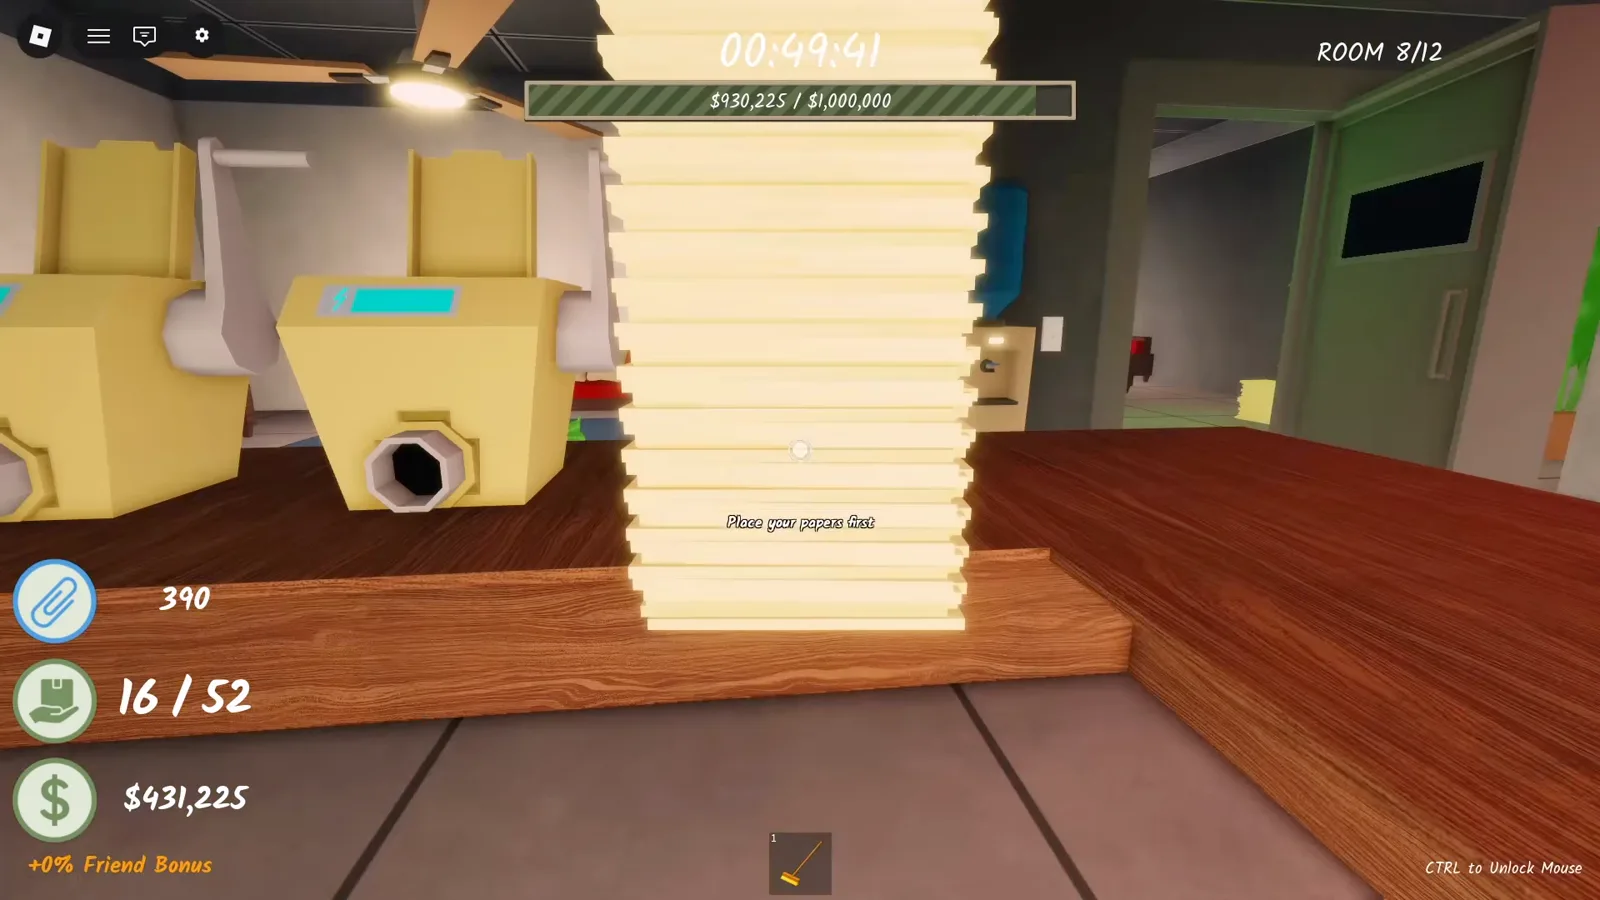
Room 8/12 — the new wing starts here.Watch at 0:08 - 18
Push through the yellow double doors
Room 8's exit is a set of industrial yellow double doors behind the WARNING-taped floor. The loop itself does not change — shred paper, hit the quota, re-buy your upgrades — but the $5,000,000 goal bar over the door makes clear the new rooms play for much higher stakes.
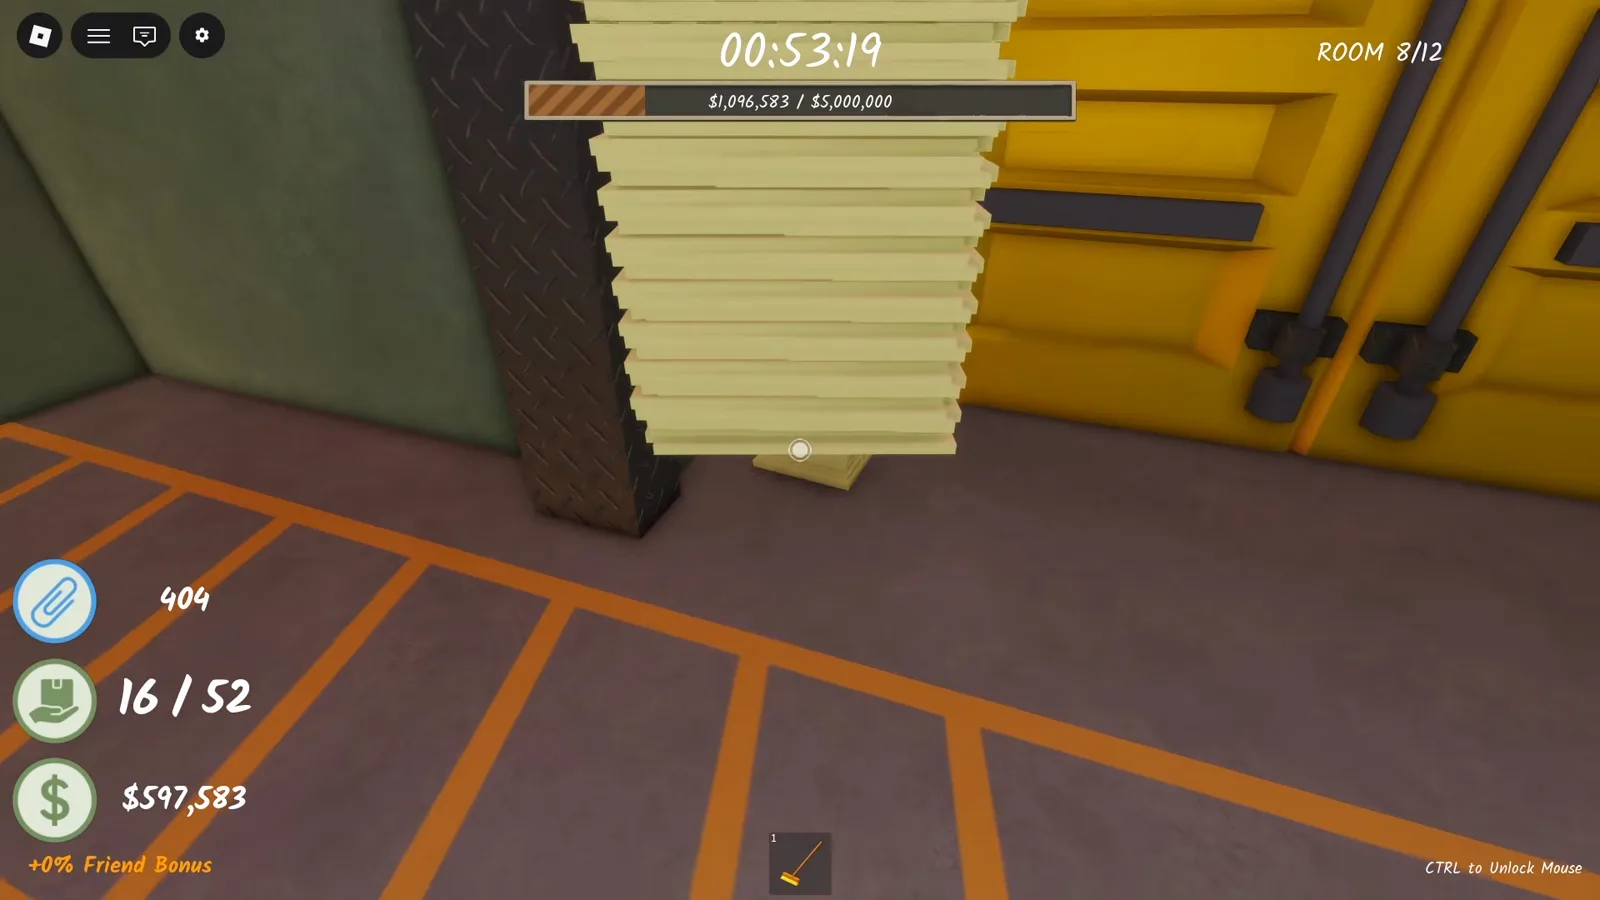
Yellow double doors, $5,000,000 on the bar.Watch at 0:50 - 19
Room 9: repair the broken ladder
Room 9 swaps the palette to green lighting, a yellow catwalk and fresh cobwebs. Look up: a broken ladder leads to the attic. Find the missing ladder parts scattered around the room and repair it — the game confirms "The attic has been opened."
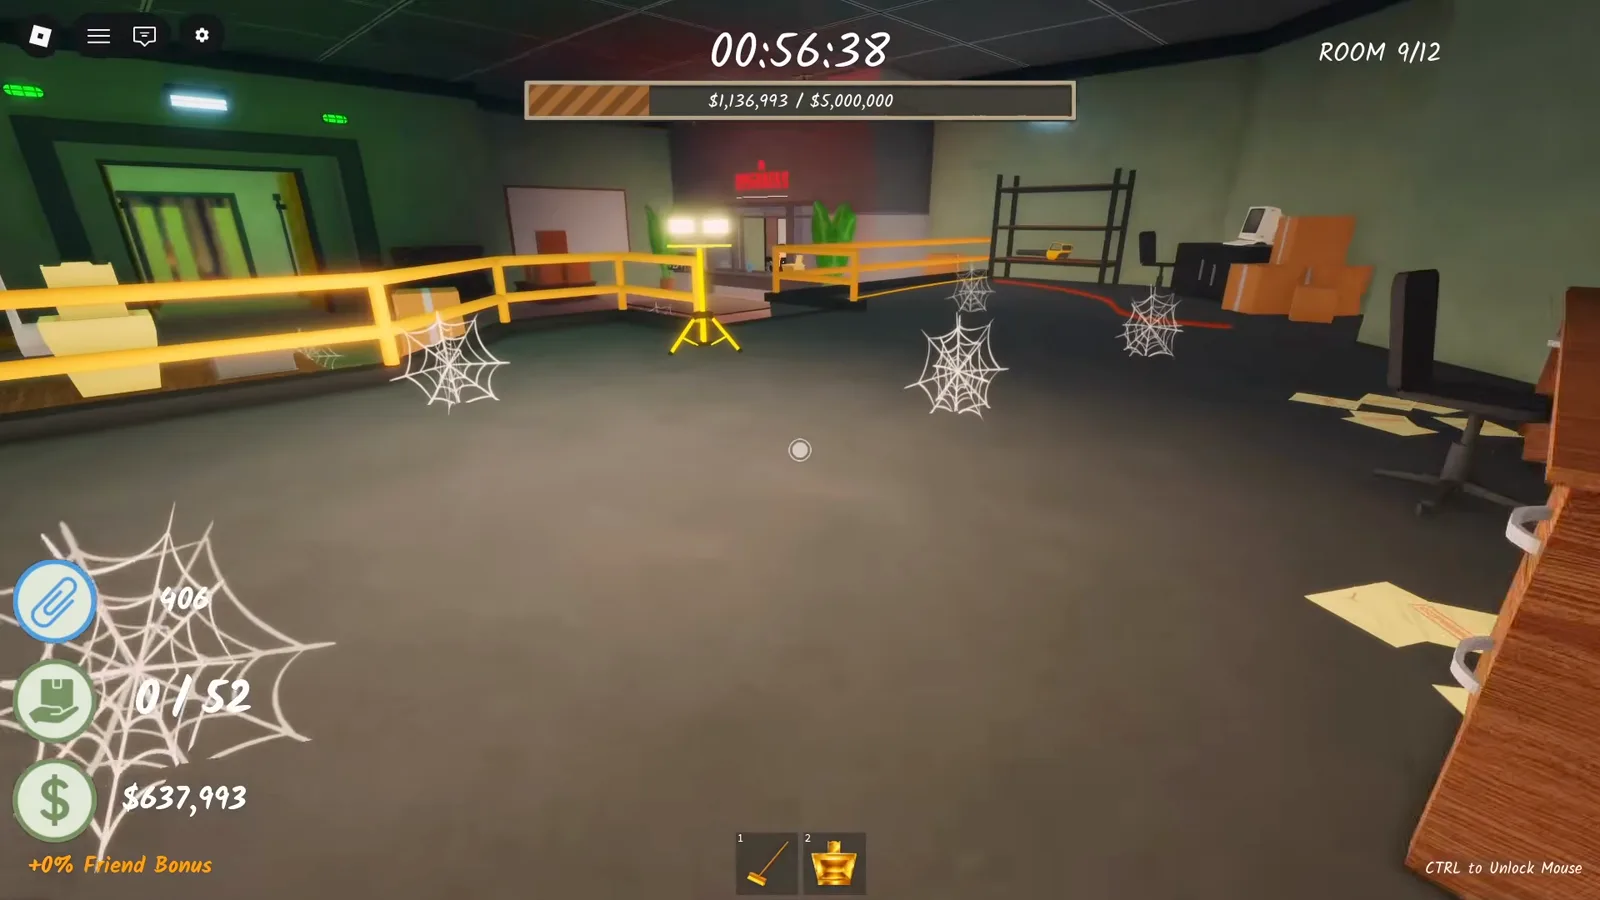
Room 9: green lights, catwalk, cobwebs — and a ladder to fix.Watch at 2:50 - 20
Meet the Mad Scientist in the attic
Climb the repaired ladder to find an NPC in a lab coat under a chalkboard reading "PROJECT: CAFFEINE." He greets you with "Wait — you're not one of them," and explains he helped make the sweetener in the coffee, tried to stop it, and got found out. His quest sends you back to the floors below to recover his blueprints — "vital parts of the machine" — and completing it awards the Industrial Revolution badge (earned by 3.4% of players).
- 21
Clear ~52 documents per new room
The document counter in the new rooms runs to 52 — a lot of shredding per floor. The Room 3 Golden Shredder (2x cash, six stacks, no cranking) is what keeps the $5,000,000-per-room goals realistic, so install it early every room and feed it nonstop.
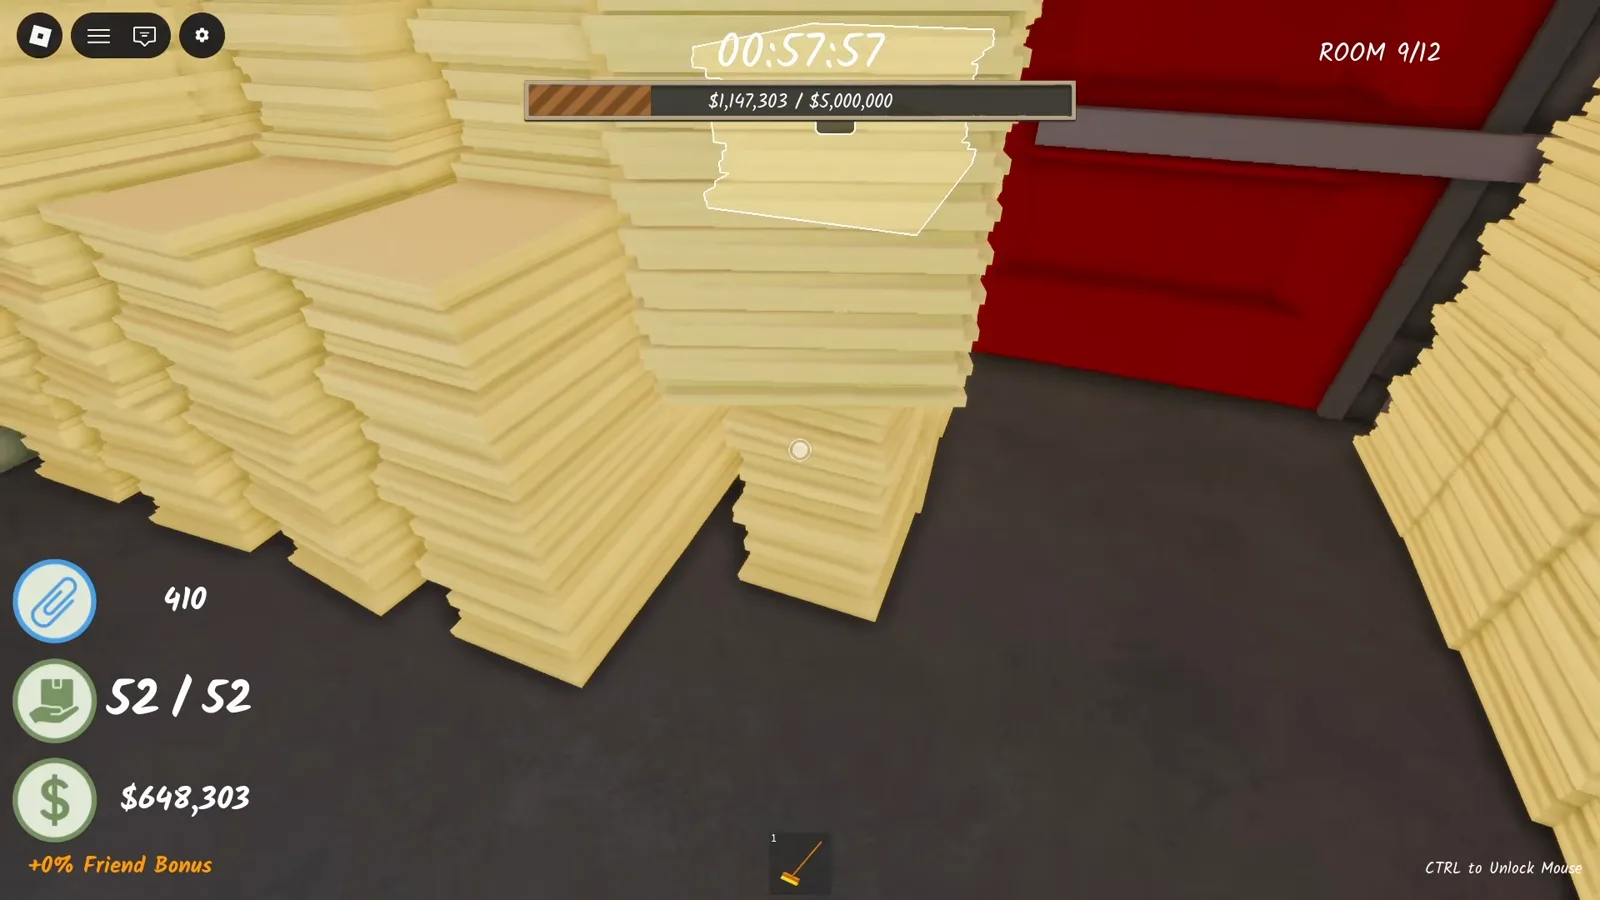
52/52 documents — every new room is this dense.Watch at 3:20 - 22
Room 10: survive the testing lab
Room 10 is a dark testing lab swept by red alarm lights, with rows of orange chairs and a "Two Ladders Required" sign on the wall. Your character says it out loud: "This must be the human testing lab…" and later, "What is wrong with these people? This job doesn't even pay well." Keep the quota moving and get out.
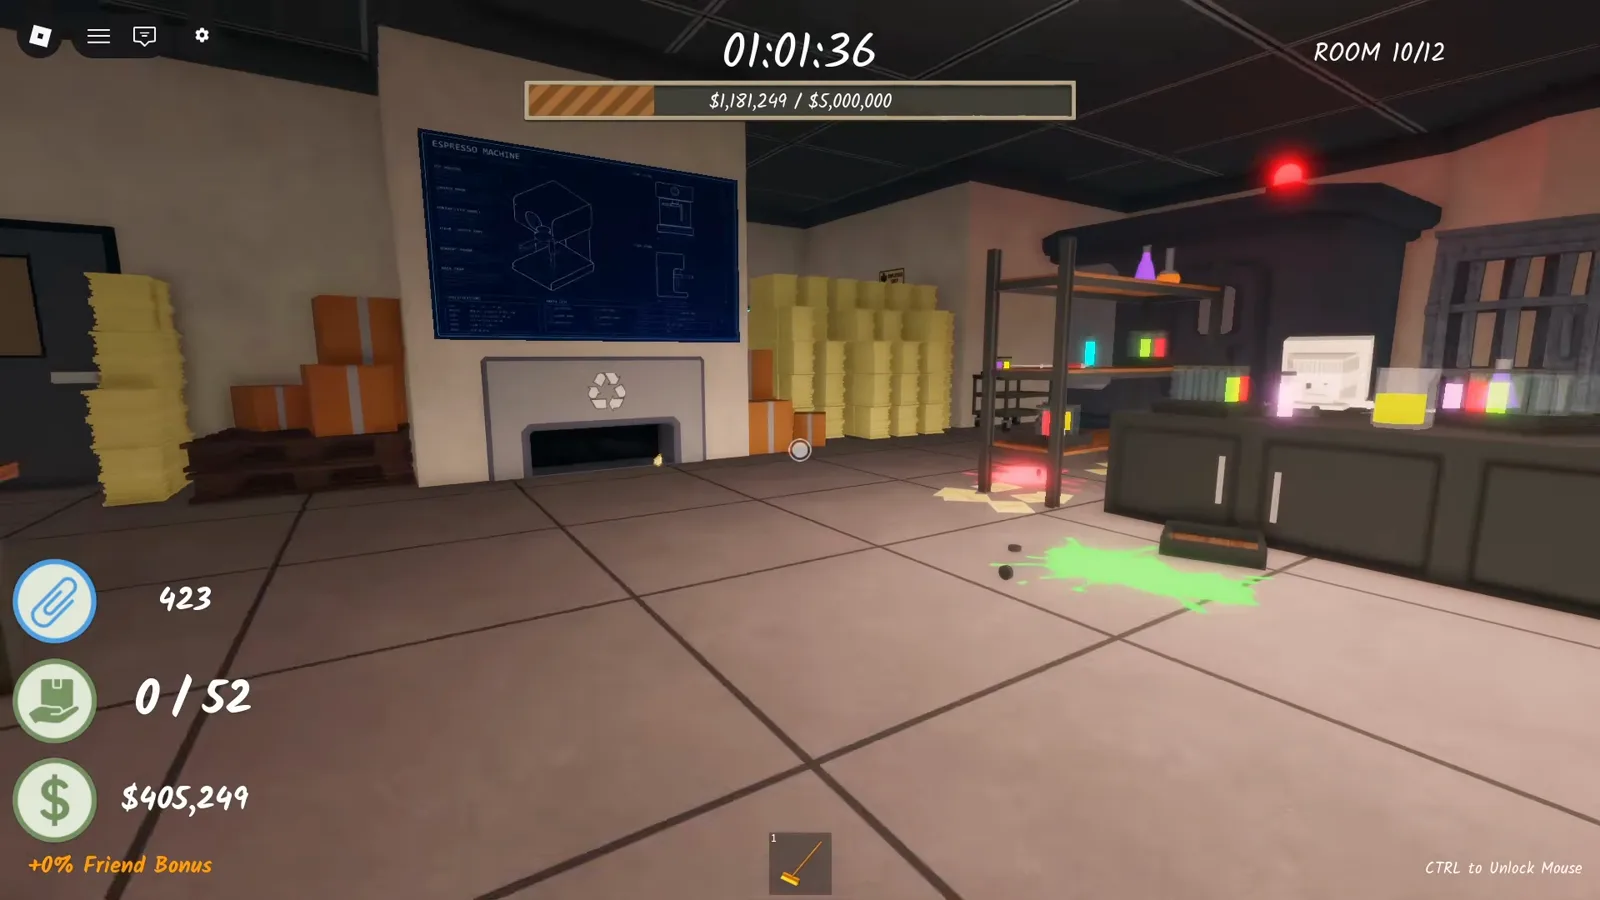
Room 10: red alarms, chemical vials — the human testing lab.Watch at 4:45 - 23
Room 11: walk into Mesa Corp
Room 11 drops the act — the offices belong to Mesa Corp, and the wall logo reads "MESA CORP — THERE'S ALWAYS MORE WORK!" Your character finally puts it together: "Mesa Corporation..? I thought I was working for an accounting firm!"
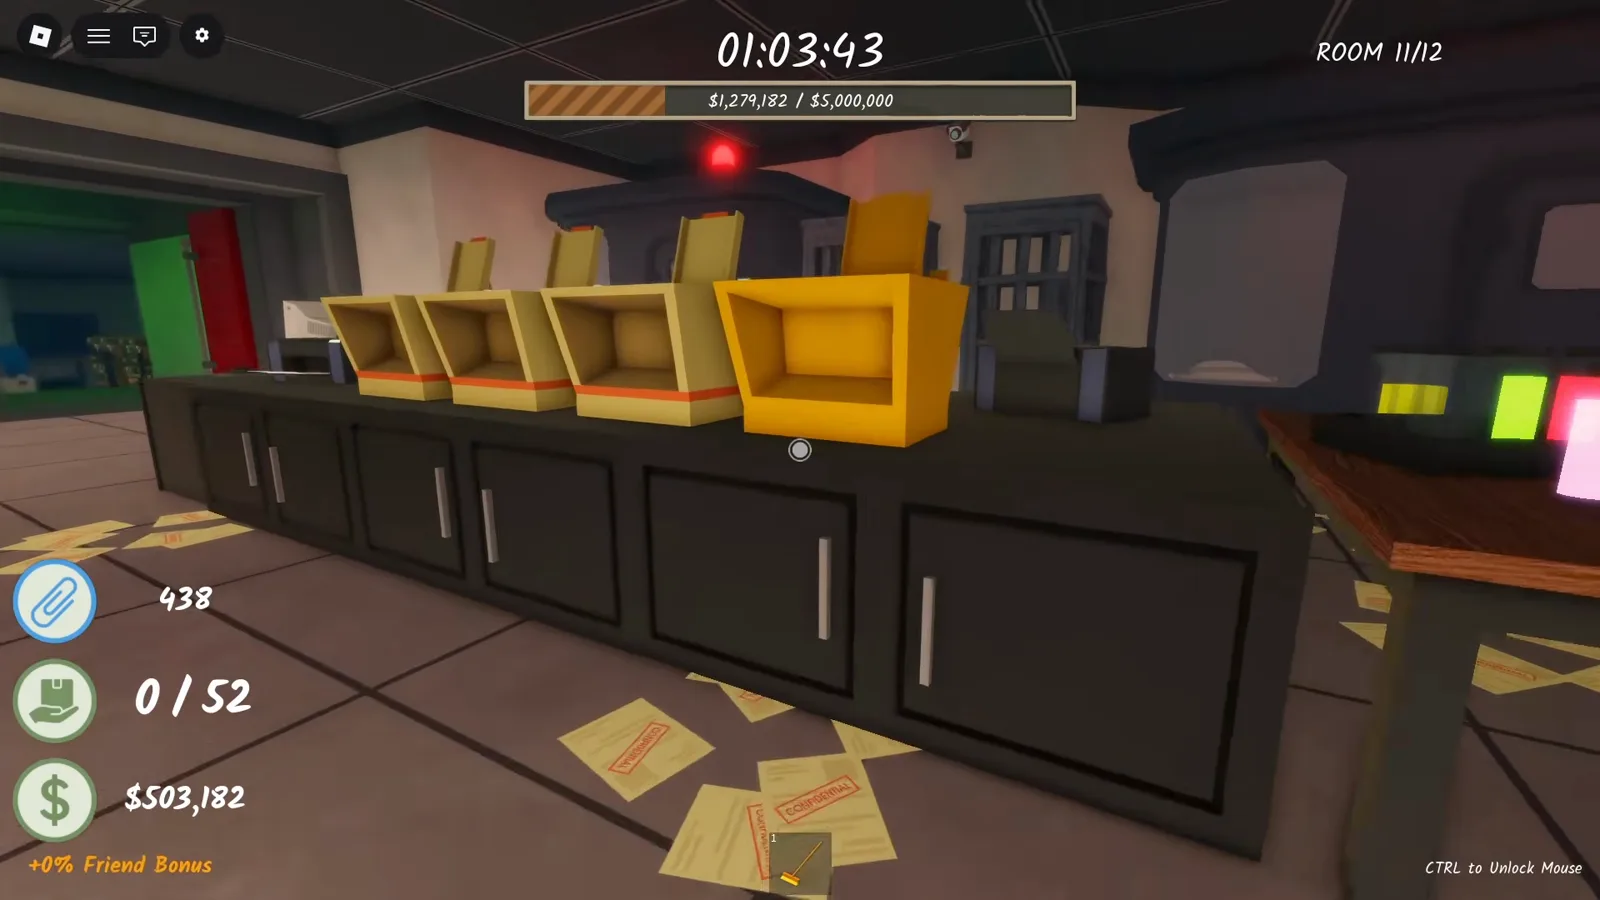
Room 11: the Mesa Corp offices.Watch at 5:47 - 24
Room 12: crack the vault for Ending 3
The final room hides a bank vault behind the paper stacks — "the conveniently placed bank vault door seems like it can be opened." The dial minigame runs TURN 1/4 up to TURN 4/4 (SPACE backs out), and the room's note encodes the combination: each number is the order of a turn, its arrow the direction. The open vault awards Whistleblower (Ending 3) (4.9% of players), reveals the boss's whiteboard to-do list, and closes on the OVERVIEW - ENDING 3 screen — the source run escaped solo in 1:13:00 with 252 paperclips. Our Ending 3 guide walks every step.
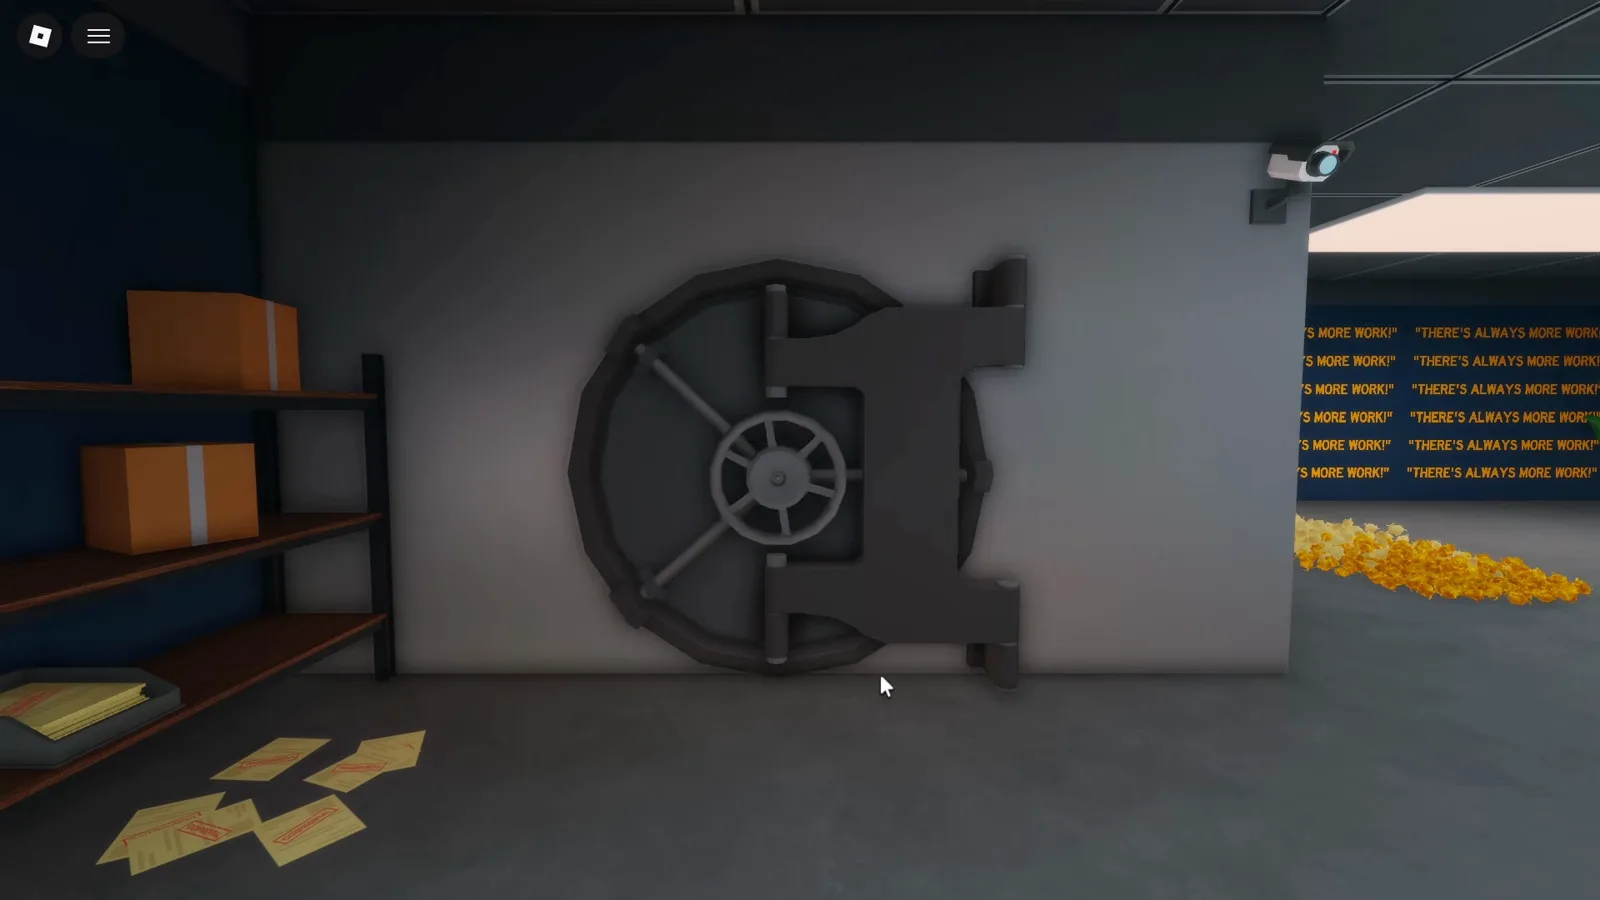
Room 12: one vault between you and the Whistleblower badge.Watch at 8:40
FAQ
How many rooms are in Shred the Secrets?
Twelve since the July 30 [ENDING 3] update (eight before it). The HUD shows your current room as you progress — up to "ROOM 12/12" — and a full clear of all 12 rooms, ending at the Room 12 bank vault, is one complete run.
How long does it take to beat Shred the Secrets?
A bit over an hour solo. The 12-room Ending 3 source run on this page escaped in 1:13:00; pre-update 8-room reference solos took ~53 minutes (bwoo), and coordinated squads reported ~40 minutes (community-reported). Finishing the whole game solo earns the Understaffed badge.
Do upgrades carry over between rooms?
No. Automatic Shredder and Shred Amount levels reset every room, so each new room starts with slow hand-cranked shredders until you re-buy. Higher upgrade tiers also stay locked until you reach later rooms. Carry-related progress is what players report feeling most between rooms — when in doubt, budget a re-buy at every new shop.
How do I open the door to the next room?
Shred enough of the room's paper to fill its quota — the objective line reads "Clear the pathway to open." You do not need to shred every stack in the room; once the quota ticks over, the door unlocks.
What happens if I look at the FBI agent?
Players report that staring at the agent when he appears is what gets you caught — which is exactly how you earn the It's Not What It Looks Like badge (community-reported trigger). If you are not hunting that badge, follow the on-screen warning and look away.
Where do the endings branch off?
Room 5's hidden buttons lead to the secret document and Ending 1 ("What?"). Room 6's crowbar opens the basement route — coffee, elevator, final room — which ends in Ending 2 ("Dark Secrets"). Both are unchanged after the update. The [ENDING 3] update adds a third: keep clearing through the new Rooms 8-12 and crack the Room 12 bank vault for Ending 3 ("Whistleblower").
How long does it take for the FBI to come in Shred the Secrets?
There is no fixed timer. FBI agents appear as random jump scares from Room 2 onward — several recorded runs have gone most of an hour without a sighting. What stays consistent is the rule: staring at an agent drains your health (the longer you look, the more damage), which is how the It's Not What It Looks Like badge happens. Follow the "Look Away!" warning and keep shredding.
Related pages
- All endings guide — the Ending 1 and Ending 2 routes step by step
- Ending 3 guide — the Whistleblower route: attic, Scientist quest and vault dial
- Endings overview — badge list and ending requirements
- Rooms overview — room-by-room route, including where the Room 5 buttons are
- Secrets & collectibles — Golden Shredder, phone, fake exit and more
- Wiki — rooms, upgrades and mechanics
- Upgrade optimizer — plan your per-room buy order
- Route planner — plan a full-badge run order
- Run tracker — track your room-by-room progress
- Classes — pick a class for faster clears
- More guides — every walkthrough and guide on the site
Related guides
- Shred the Secrets Money Guide: $1M Strategy, Upgrade Order & 2X Cash Pass ROI
- Shred the Secrets Beginner Guide: Best Tips, Upgrade Order & Squad Strategy
- Shred the Secrets Ending 3: Whistleblower Walkthrough (Vault Puzzle, August 2026)
- Shred the Secrets: All Endings Guide (Ending 1, 2 & 3)
- Shred the Secrets: All 30 Badges Guide — Official Earn Rates (2026)
- How to Play Shred the Secrets: Beginner's Guide (Core Loop, Upgrades & Co-op)
- Shred the Secrets Upgrades Guide: Best Upgrade Order (Solo, Squad & Speedrun)
- Shred the Secrets Classes Guide: All 6 Classes & Paperclip Farming
- Shred the Secrets: How to Beat the Game Fast (Buzzer Beater Guide)